Cracking On With My Capture Pickup Monster Truck!
Start With a A Good Foundation...
Well, I've made significant progress this week on my 'Capture Pick-up' Gaslands vehicle.
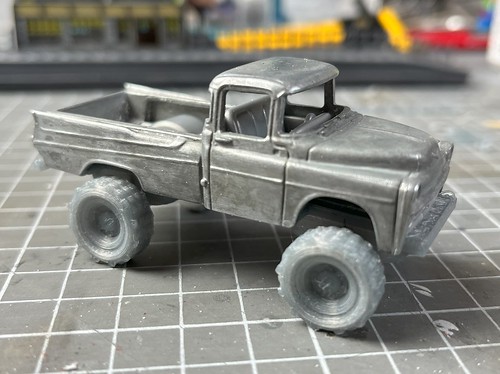
The first major job - having decided that this vehicle would be a sort of monster truck - was to work out how I could easily raise the suspension in order to accommodate the oversized wheels and tyres that I had found for the project (see Part 1 - opens in new window).
I decided that it would make sense if I designed a replacement chassis floor on which I could then add whatever means of fitting the wheels that I decide will be best. So, to begin which I replicated the floor in 3D...
This was the easy part, just how to attach the wheels turned out to be the tricky question. Do I got for realism and replicate an authentic wheel train and suspension or is there a simple alternative to easily mount the wheels?
 |
| Above: I decided to try out both a detailed and simplified system. |
Having tinkered with alternative solutions to the suspension problem I opted for the 'easy' attachment method. This is my first attempt at a Gaslands car after all so I didn't want to add unnecessary complications, besides the detailed version I did was a little tatty and fragile...
Really, I didn't want to get too caught up in technicalities, I thought it was more important I work through my first car so I could explore all the processes. I could get more ambitious with my designs in future models. Besides, you couldn't really see much of the underside once the big wheels were fitted...
I was pretty pleased with the how things looked so far! 😁
Mail Call! A Handy Arrival...
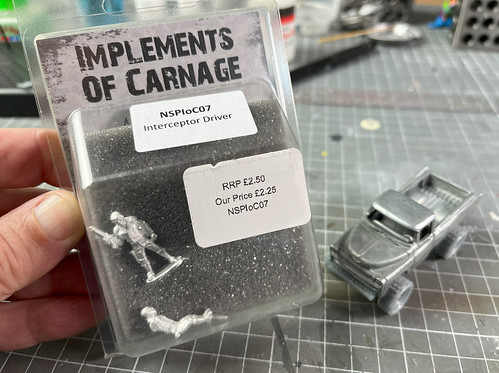
One thing that has been bothering me about starting Gaslands conversions has been the issue of scale. I haven't worked in 1/64 scale before and so didn't have much idea about the size of figures which go with these size of models. This makes visualizing what size to make accessories a little difficult, so I ordered a couple of figures from Firestorm Games UK to act as dimensional reference...
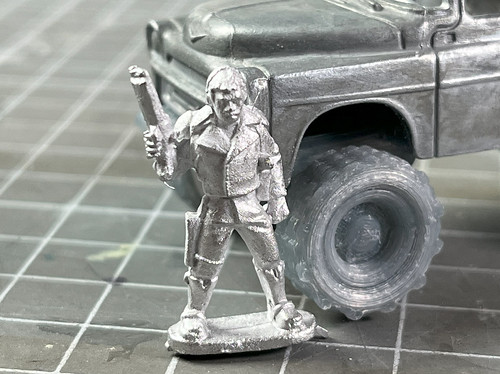
Just a standing and driving figure was all I needed to give me a good idea about deal with scaling any extra scratch built additions I might want for my Gaslands models. This was particularly important given the main feature I want to make for my capture pickup - the cage!
I have to say that I was really pleased with the 'Mad Max' style of figure that came in the pack. He's excellent...
Can't Think of a Pun Involving a Cage!
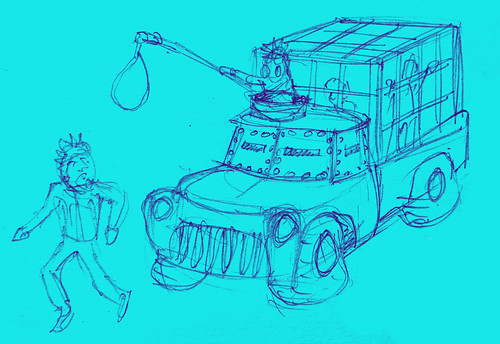
The original concept that I came up with for this vehicle was that it was for holding any captured enemy, holding them in a box-like cage built into the rear flat bed. I got the inspiration form the type of prison wagons you see in Western movies...
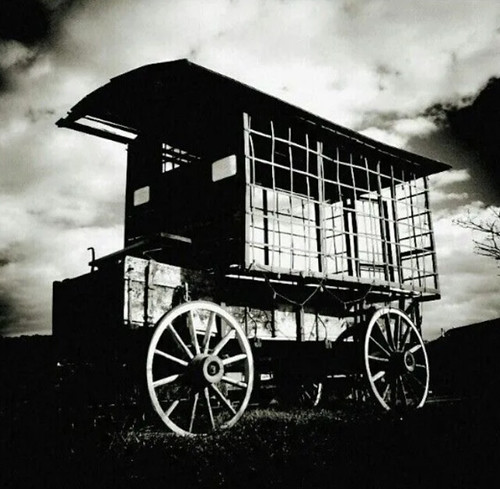 |
| Above: Photo of the 'Jail wagon' used in the 1969 John Wayne classic 'True Grit'! |
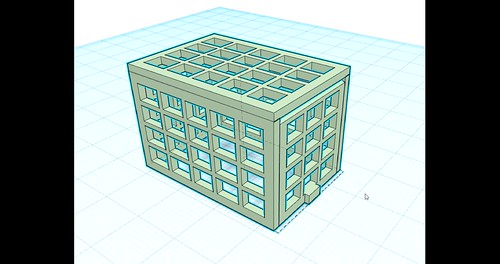
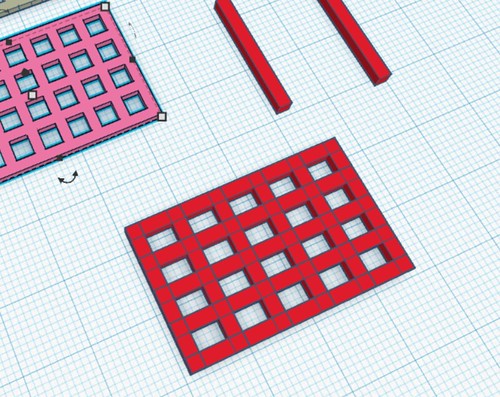
I could have scratch built a box shaped cage - it's just a lattice of flat strips after all - but I knew from experience that thin styrene strips are very flimsy and I didn't want to start mucking about with thin bits of metal. So I thought I would try 3D printing out the cage parts...
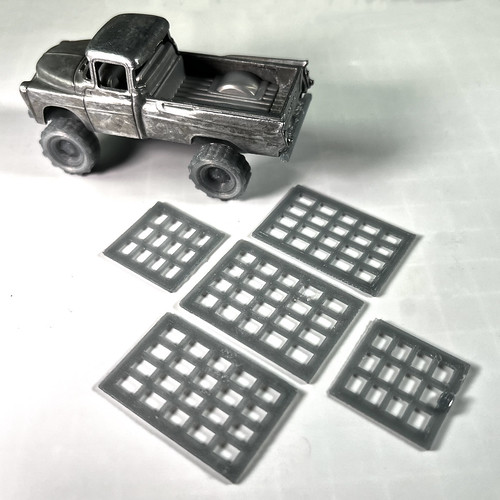
I was a bit concerned as to whether these thin lattice components would print out on my Flashforge printer, but I needn't have worried. They printed out fine, the PLA made them quite sturdy and the only took minutes to print!
Finally, something that was easy to make and worked first time with no issues! The cage parts should just super glue together ready to instal on the walls of the pickup's flatbed...
And that's it for this week. Next I'll begin to look at the pickup's bonnet and cab and the modifications I want to add and I'll also start to think about whether to add armour of some type in place of the windscreen. Hmmmmm....



Post a Comment