

Developing Gaslands Cat Ideas And Designs
[Note: Although I gave a quick overview o the initial stage of this project in the first post, I have decided to elaborate on the conceptual stage even more in this second part as I found this incredibly fun. So please excuse that I go back over some of the things that I outlined briefly in Part 1.]
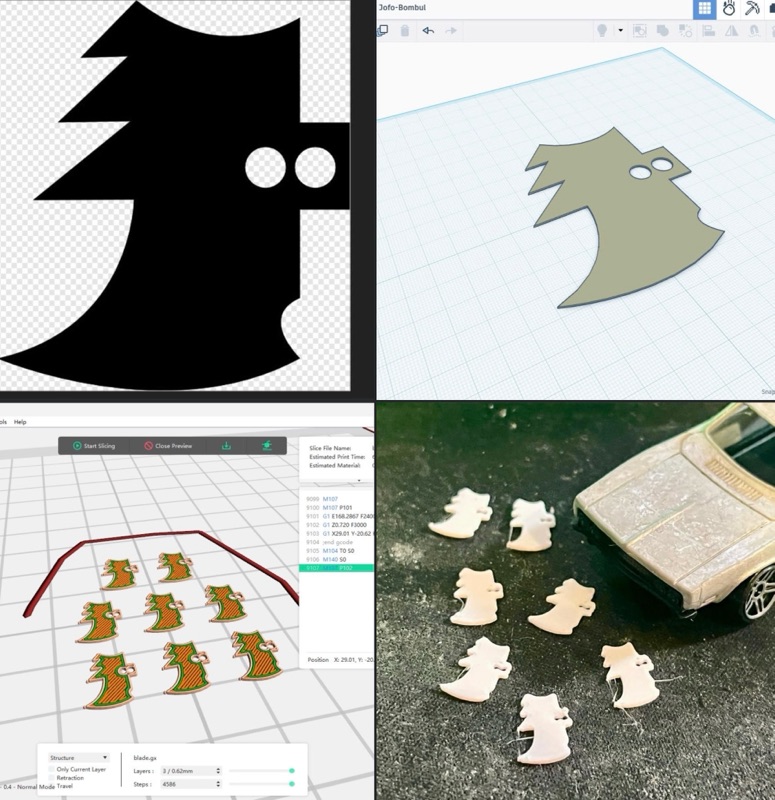
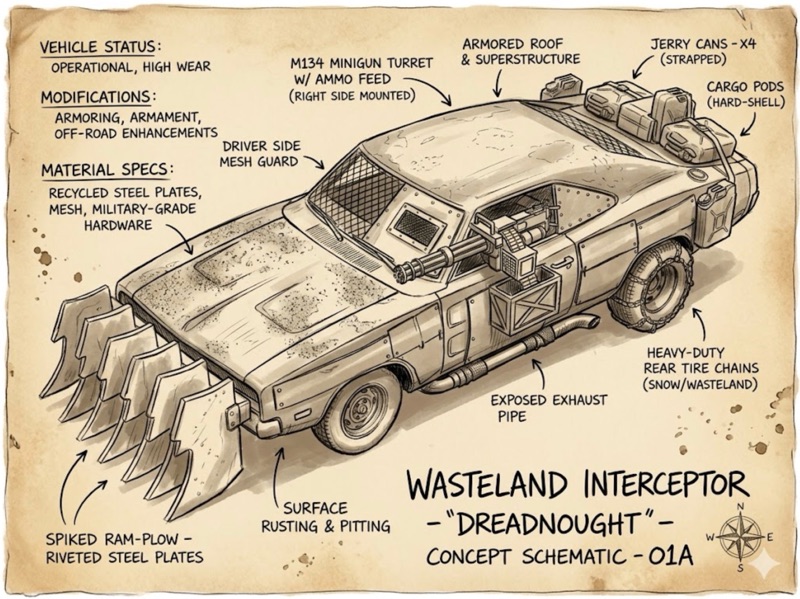
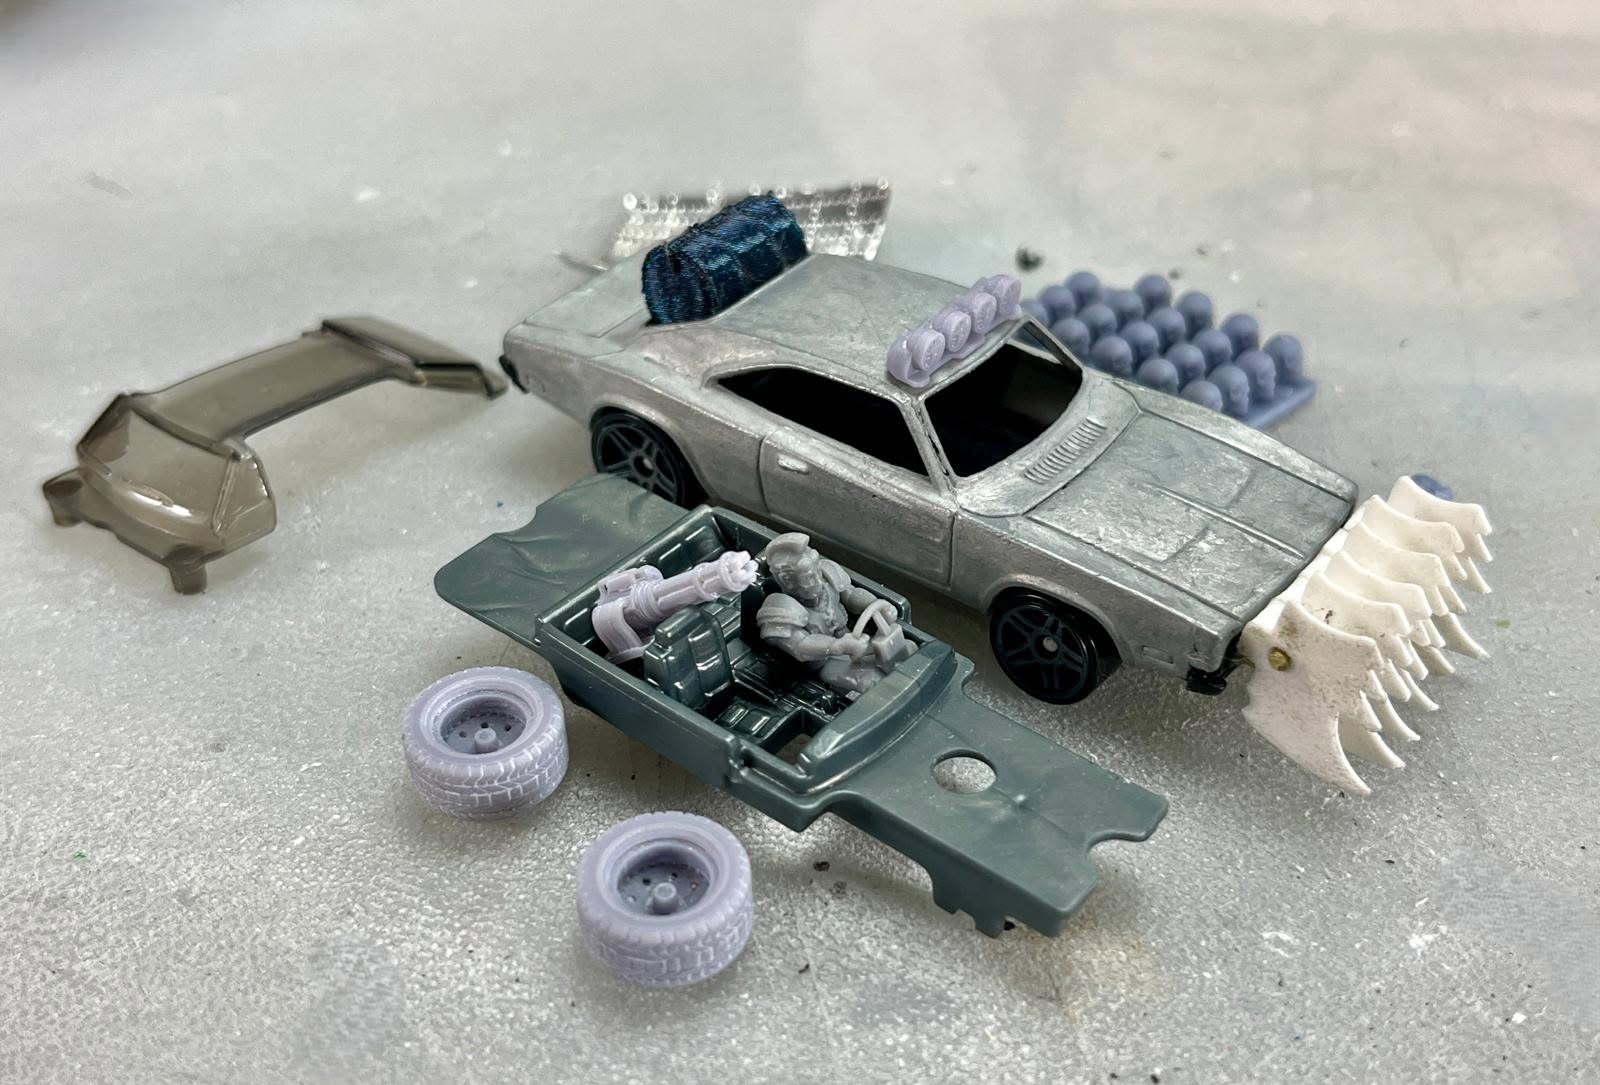
I had one main idea about how would like to do to the Hotwheels Charger to tun it into a post-apocalyptic murder machine, and that was to add a large and nasty set of steel blade to the front of the car. Many Gaslands fans go for a set of spikes at the front but I likes the idea of something that could Slice’n’Dice it’s victims instead! 😊
I could have cut the shapes for the blades out of styrene sheet, but as I wanted a a particular shape, repeated exactly several times I decided to go down the 3D printing route…
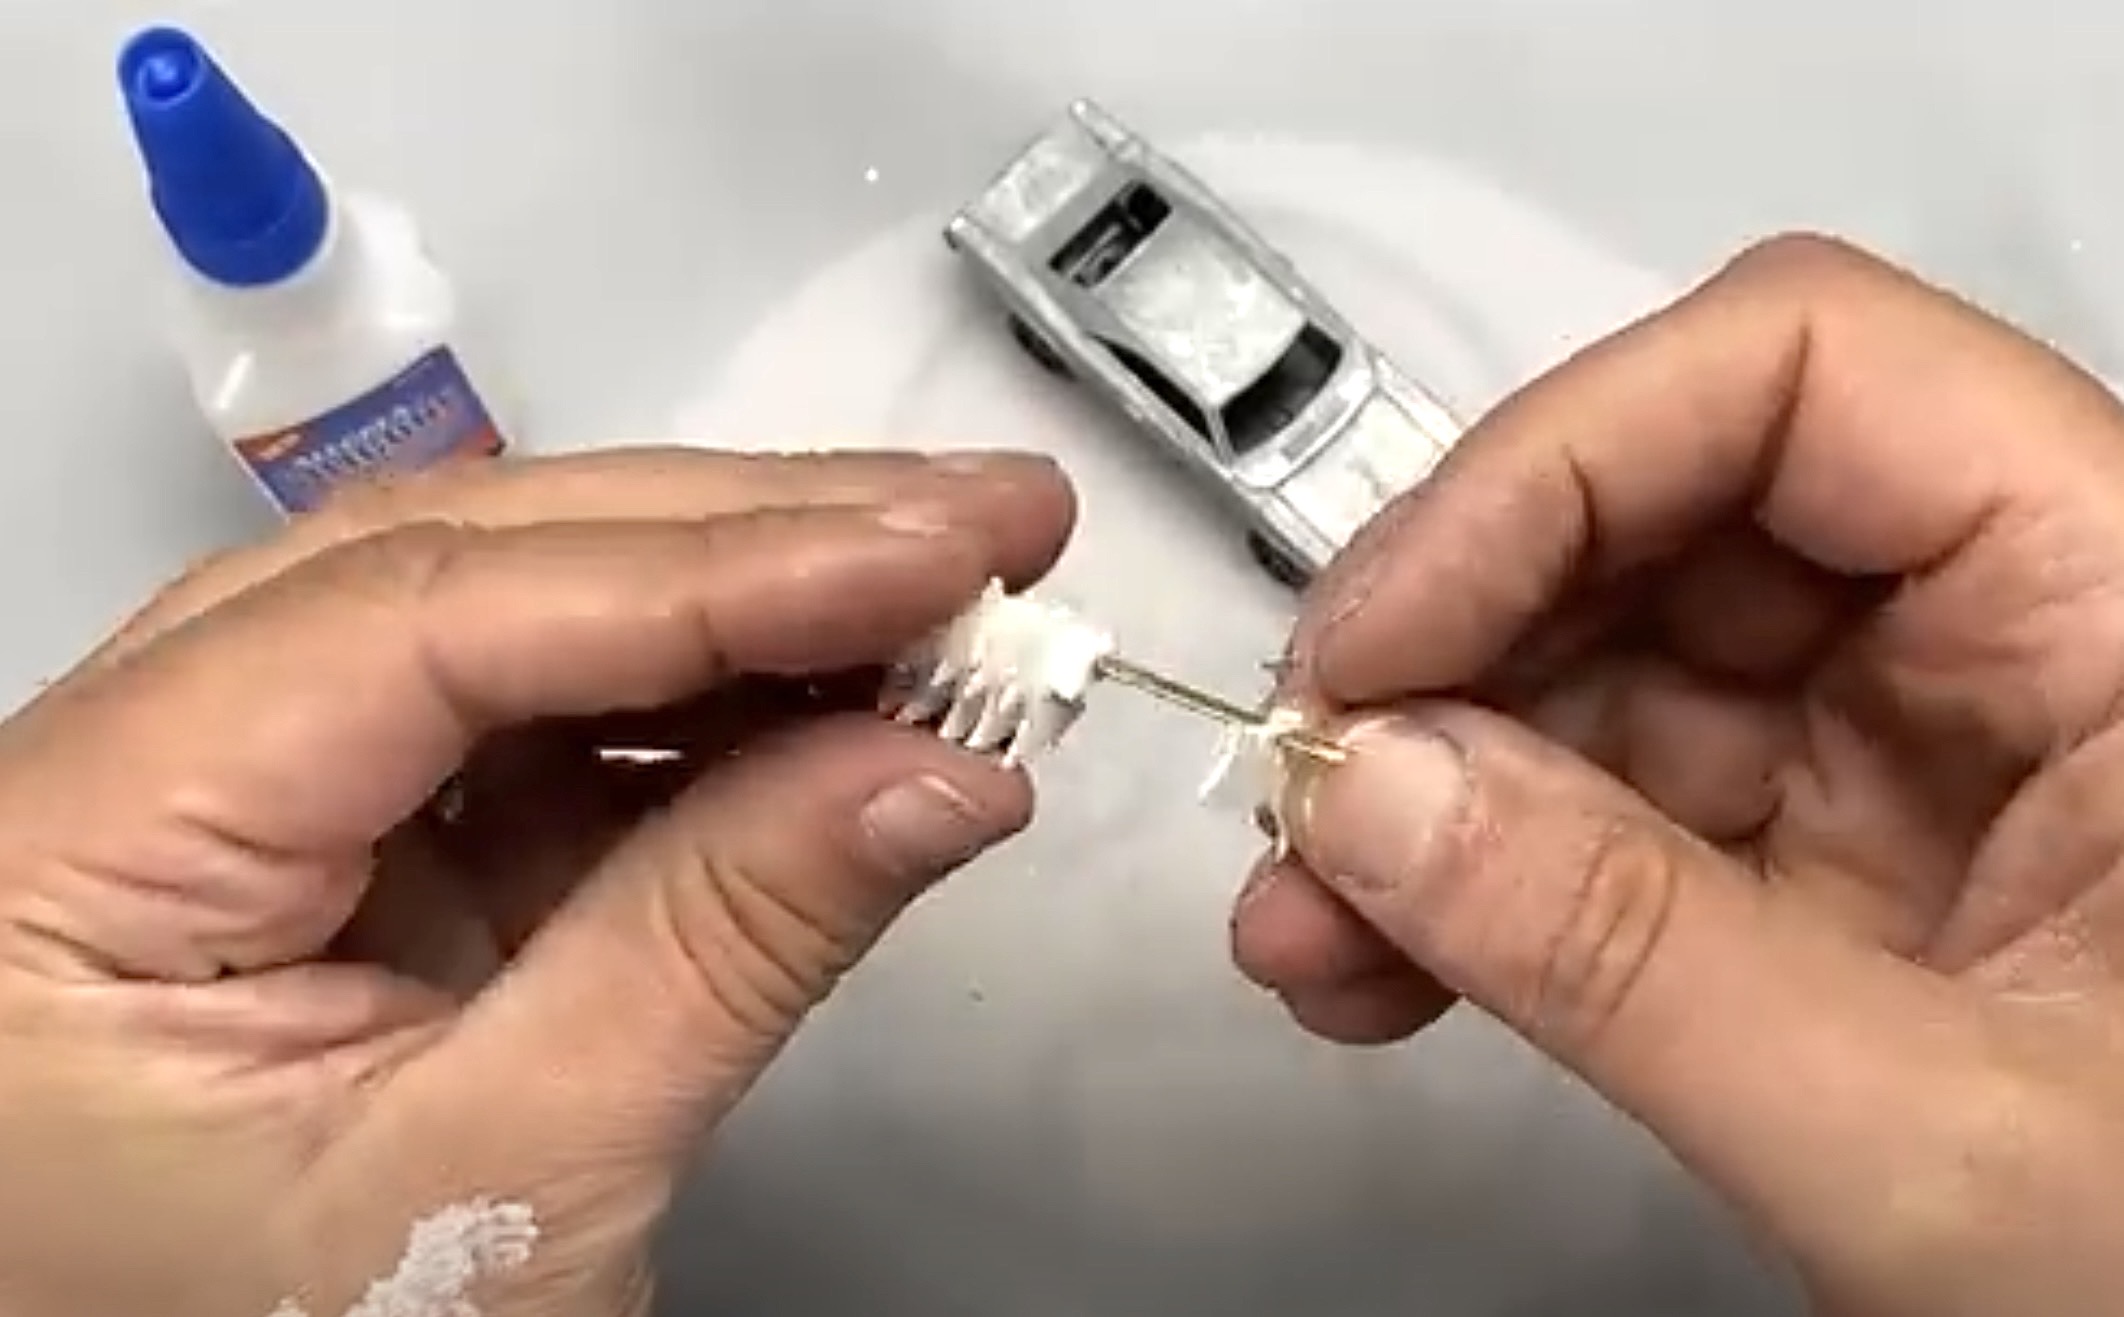
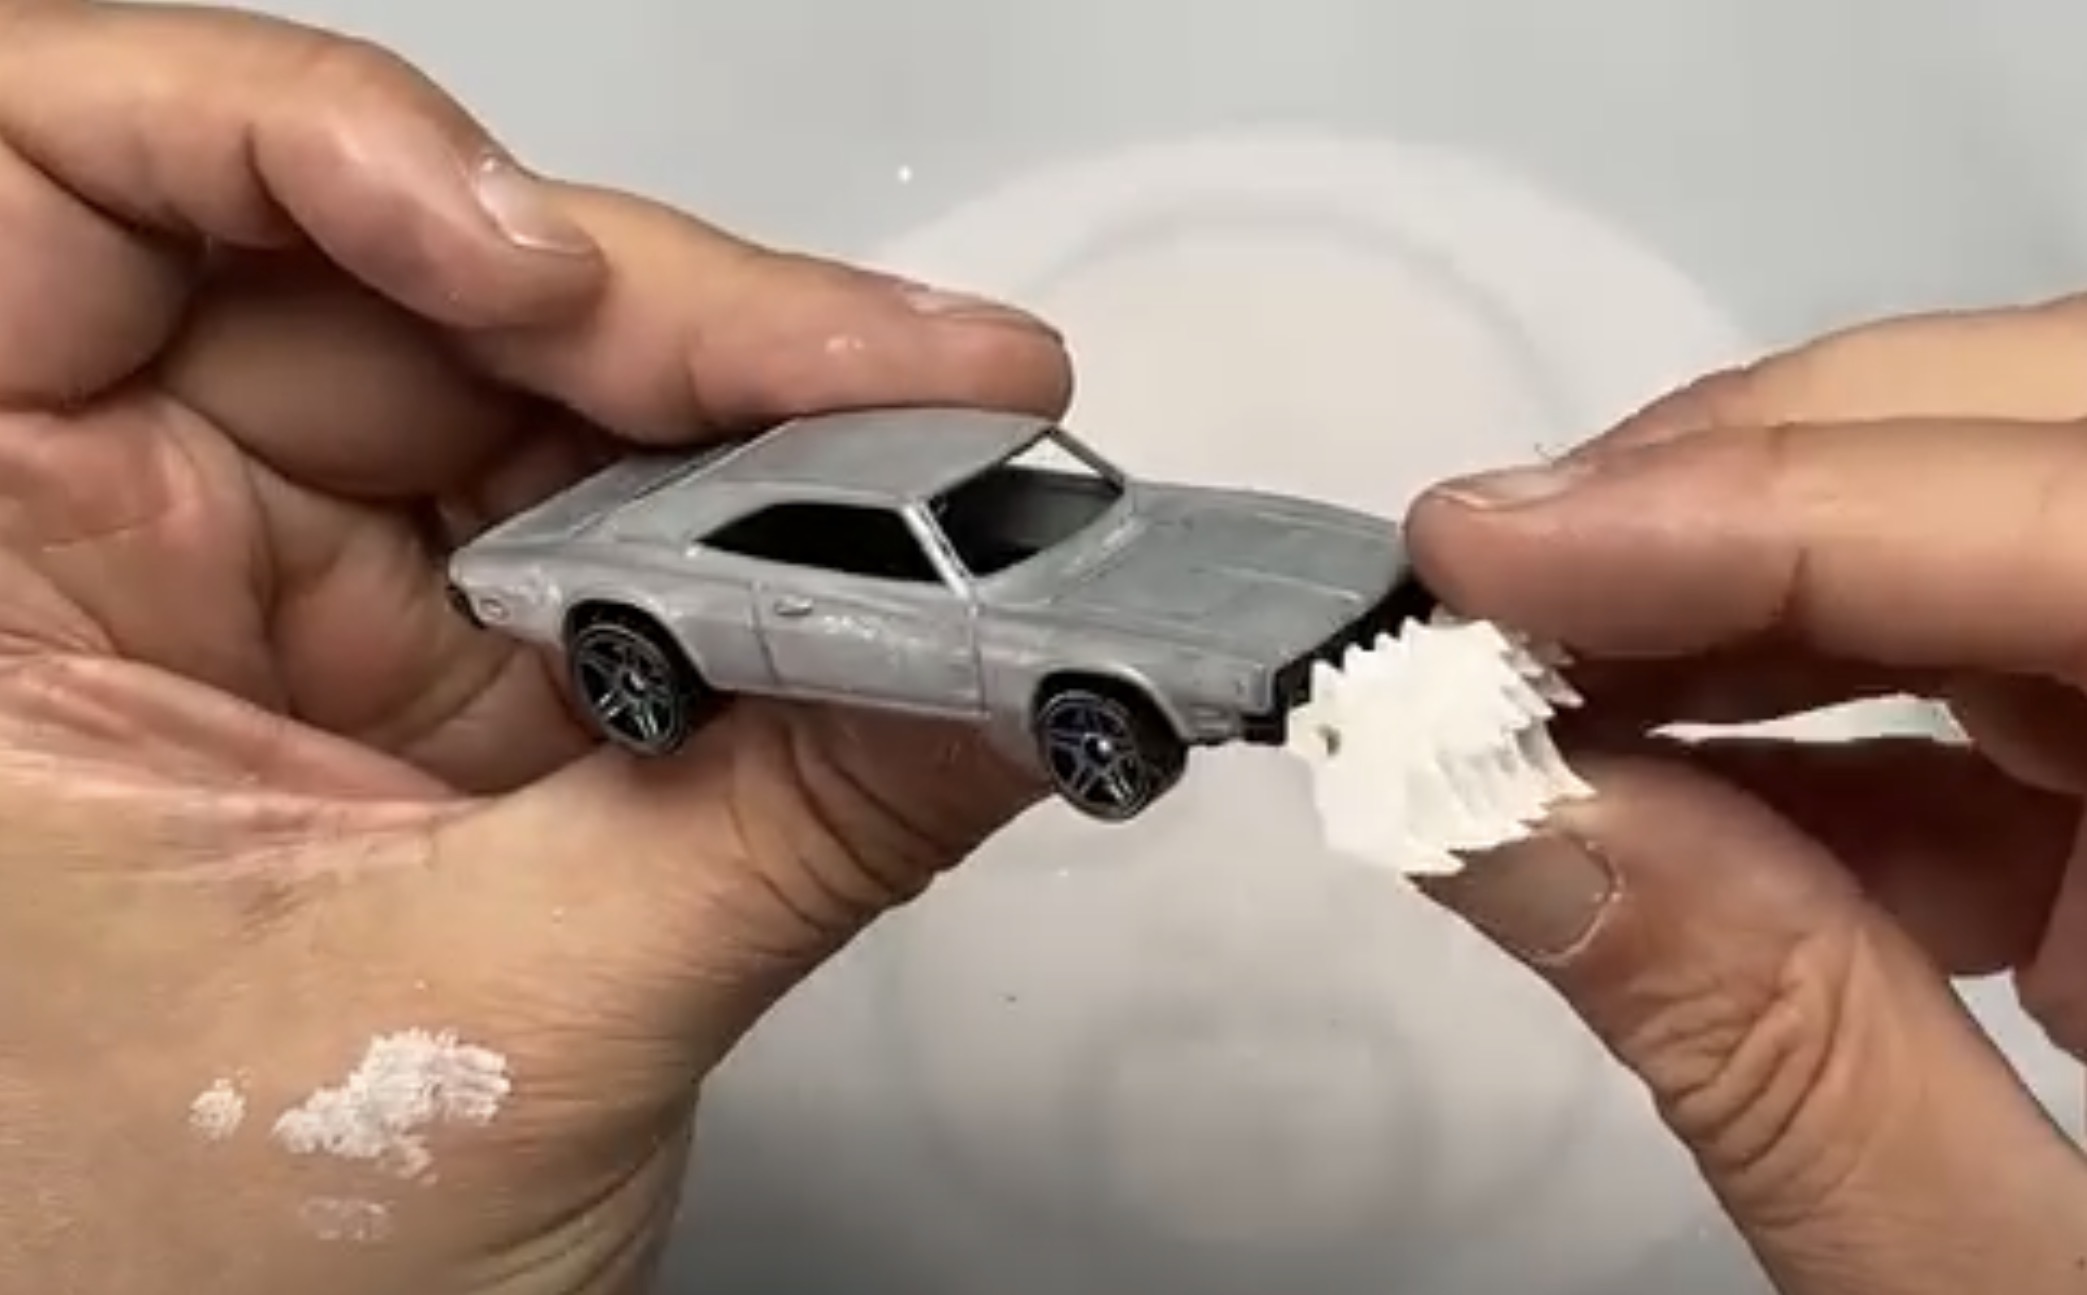
With a set of blades I then had to make a way of attaching them to the front of the car. So I treaded all the printed blades together using a piece of brass rod…
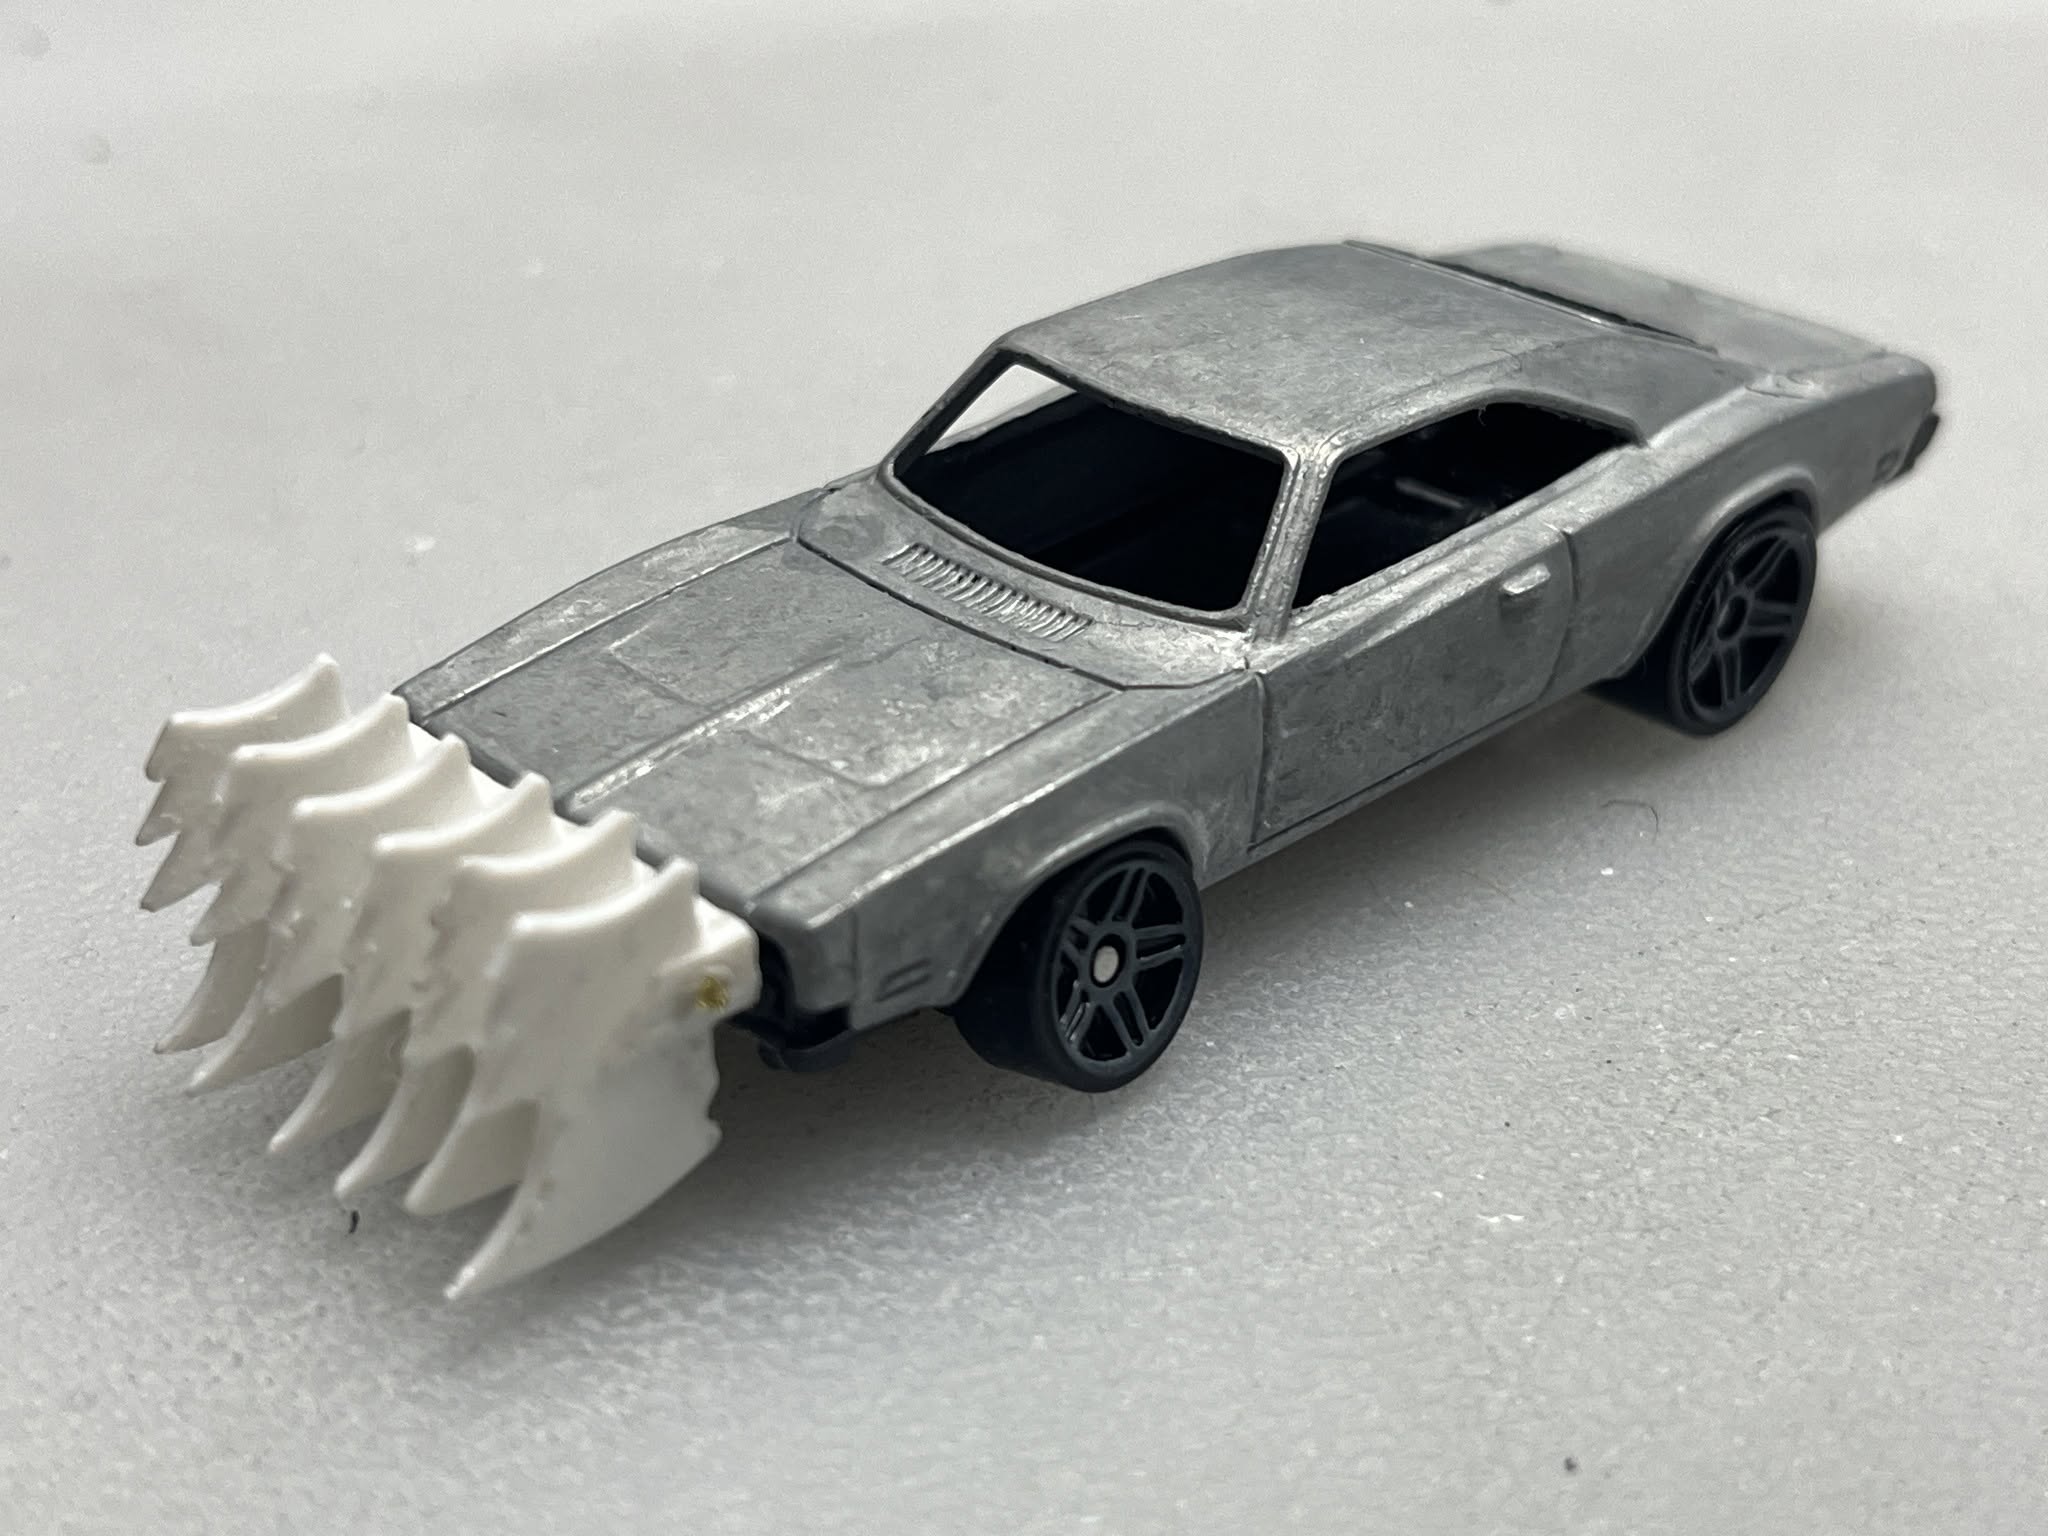
Main Job Done - But What Next?
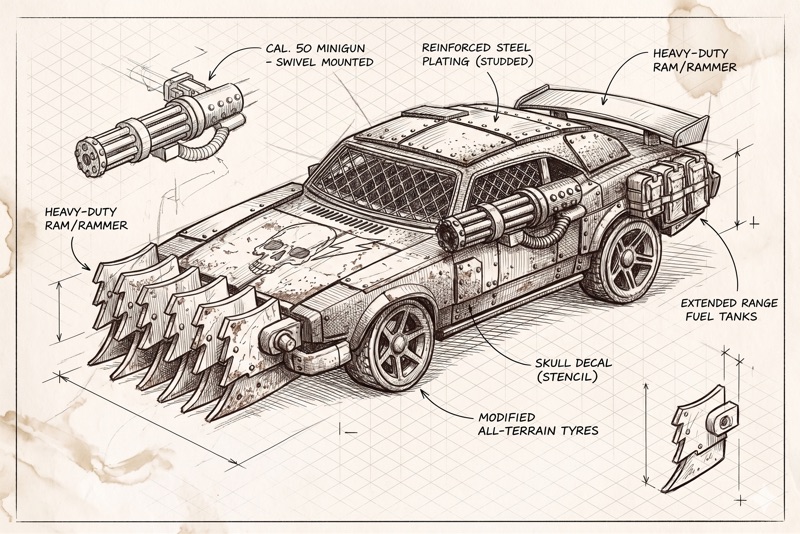
I hadn’t really thought beyond this idea, but there was a lot left that needed to be done by way of decoration and accessories in order to turn the ‘69 Dodge into a wastelands warrior. The little detailing that makes the model look like it lives in post-apocalyptic ‘Max Max’ world, like additional armour, repairs, extra fuel tanks, etc.
 |
| Above Where I started - This is as much of a plan that had initially. So now I had to come up with how I would decorate the rest of the car. |
The usual way of adding these bits and pieces can be just to start adding bits from your scraps box or Gaslands accessories box one at a time by trial and error (if you don’t have a strong design in mind already). And that’s how I did it with my first couple of Gaslands model, but this time I thought I’d try something new.
I have been playing with AI apps in order to creating role playing props and so I thought I would give the likes of ChatGTP, or Copilot, or Gemini a go for helping me to design my Gaslands customisation concepts. I thought it would be nice to have some visuals of possible customisation options in from of me before I started putting glued to plastic or metal. So I started writing the AI prompt descriptions and here’s what the AI came up with…
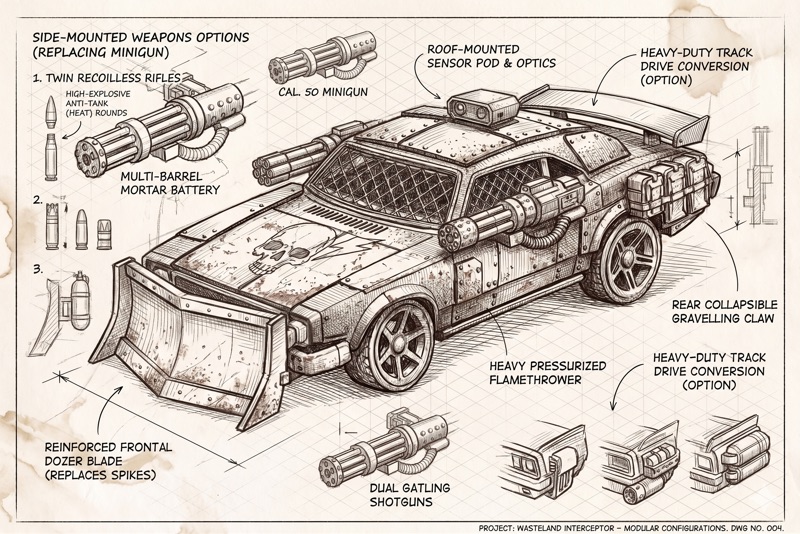
There are a lot of nice looking little options here - based on my suggestions - and a few naff ones as well. But, the great thing about doing it this way is that the AI - whichever system you use - can easily and quickly churn out alternative options to you original prompts. Once you have these it’s just a case of you choosing what you’d like to use OR as AI again to combine you chooses to come up with a final concept…
Render Your Chosen Design
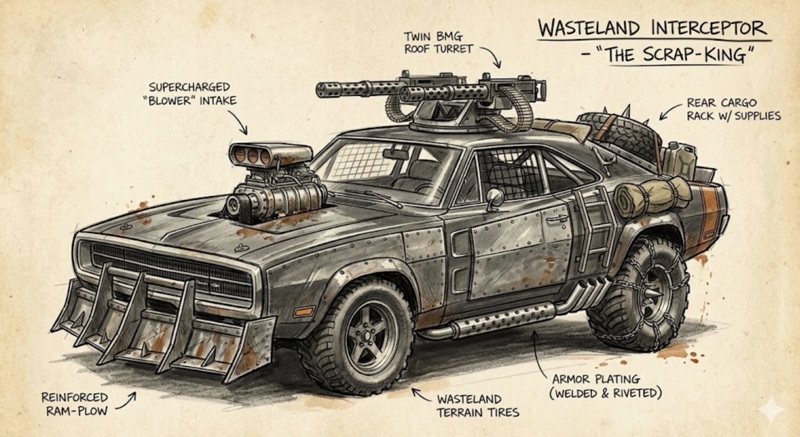
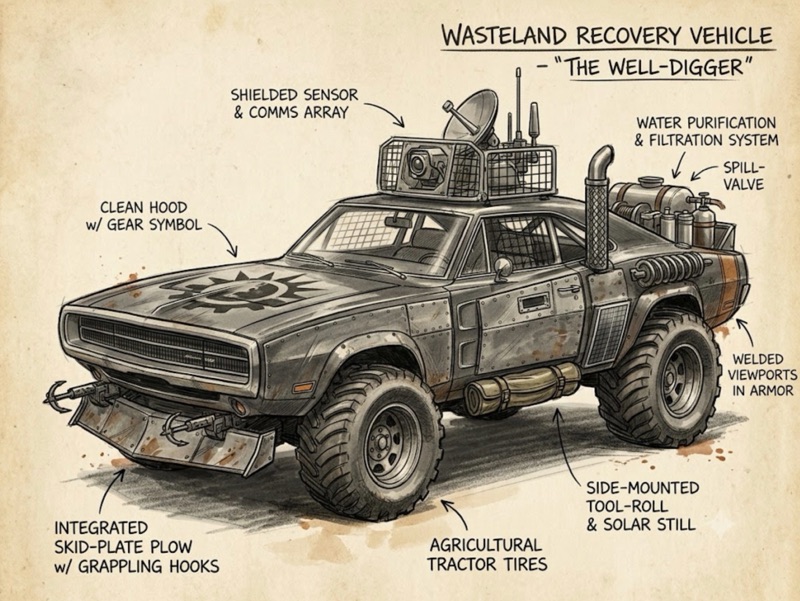
Now you can just jump from here straight into your build if you like, but I thought it would be interesting to as the AI to place the final designs into some fictional visual scenarios just to confirm my ideas…
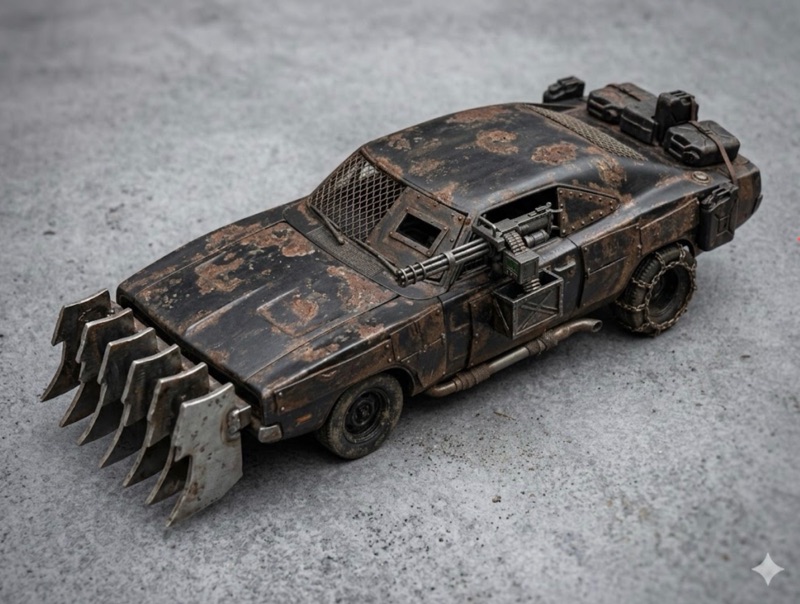
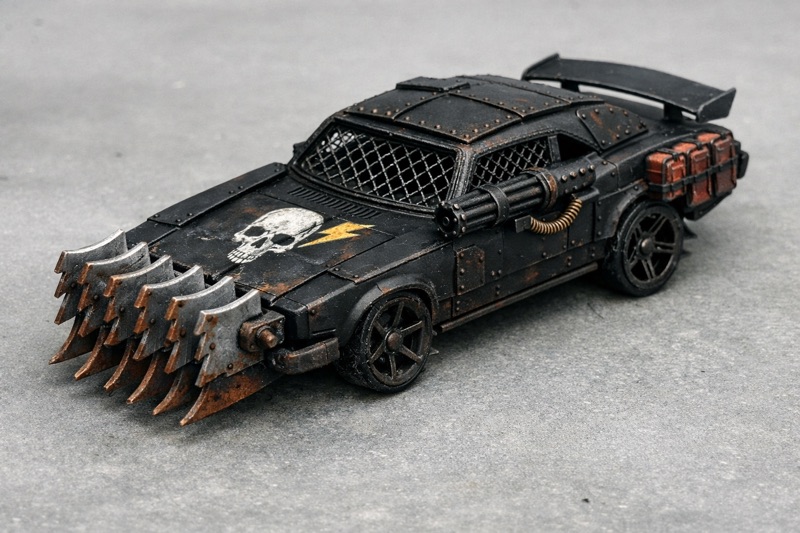
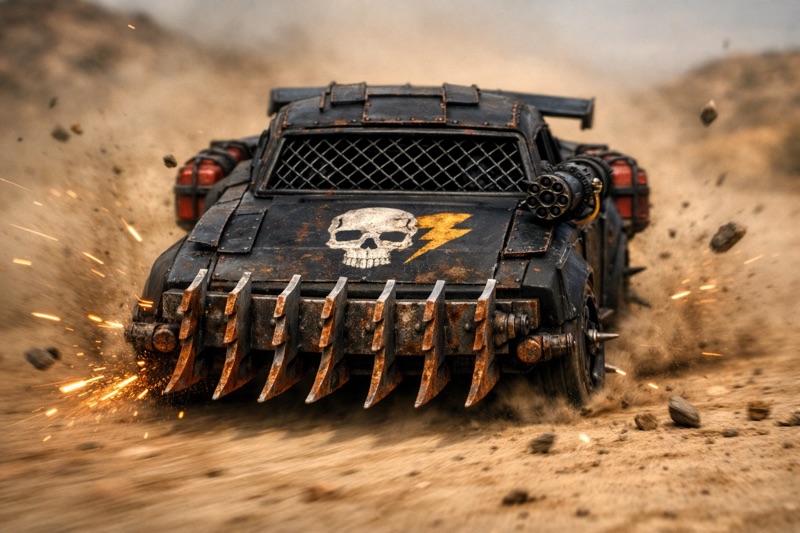
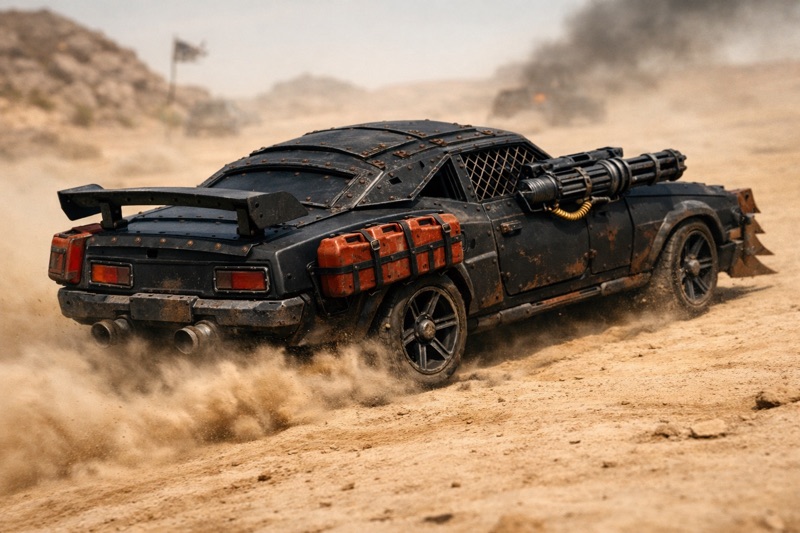
As I say, this bit is just a bit of fun.
Next: The Build
In Part 3 of this project I’ll show the actual build process. I’ll probably do this in teh form of a video as that seems the most logical way to do this. Fingers crossed eh?
Post a Comment