

Making a Simplified AT Gun For My COBI M113
A Toy Gun For A Toy Armoured Vehicle
Following on from my 3D printed .50cal turret that I made for my COBI brick M113 APC - turning it into a Vietnam era ACAV mount - I decided to take the model a step further answer and make it into a specialist fire support vehicle.
This would entail the creation of a 105mm recoilless rifle to mount on the APC’s roof…

I wouldn’t using TINKERCAD to make the 3D model, but this would be a simplified version to make the look of the COBI toy M113 model. This suits me as my 3D modelling skills are pretty basic! 😆
Luckily, the M40 gun is fairly much just a big tube, with not a lot of fiddly attachments. After a careful look define reference photos I figured I could break my design down into a few simple sub-components which I would then glue together to make the final model… Well, that was the plan (we shall see.)
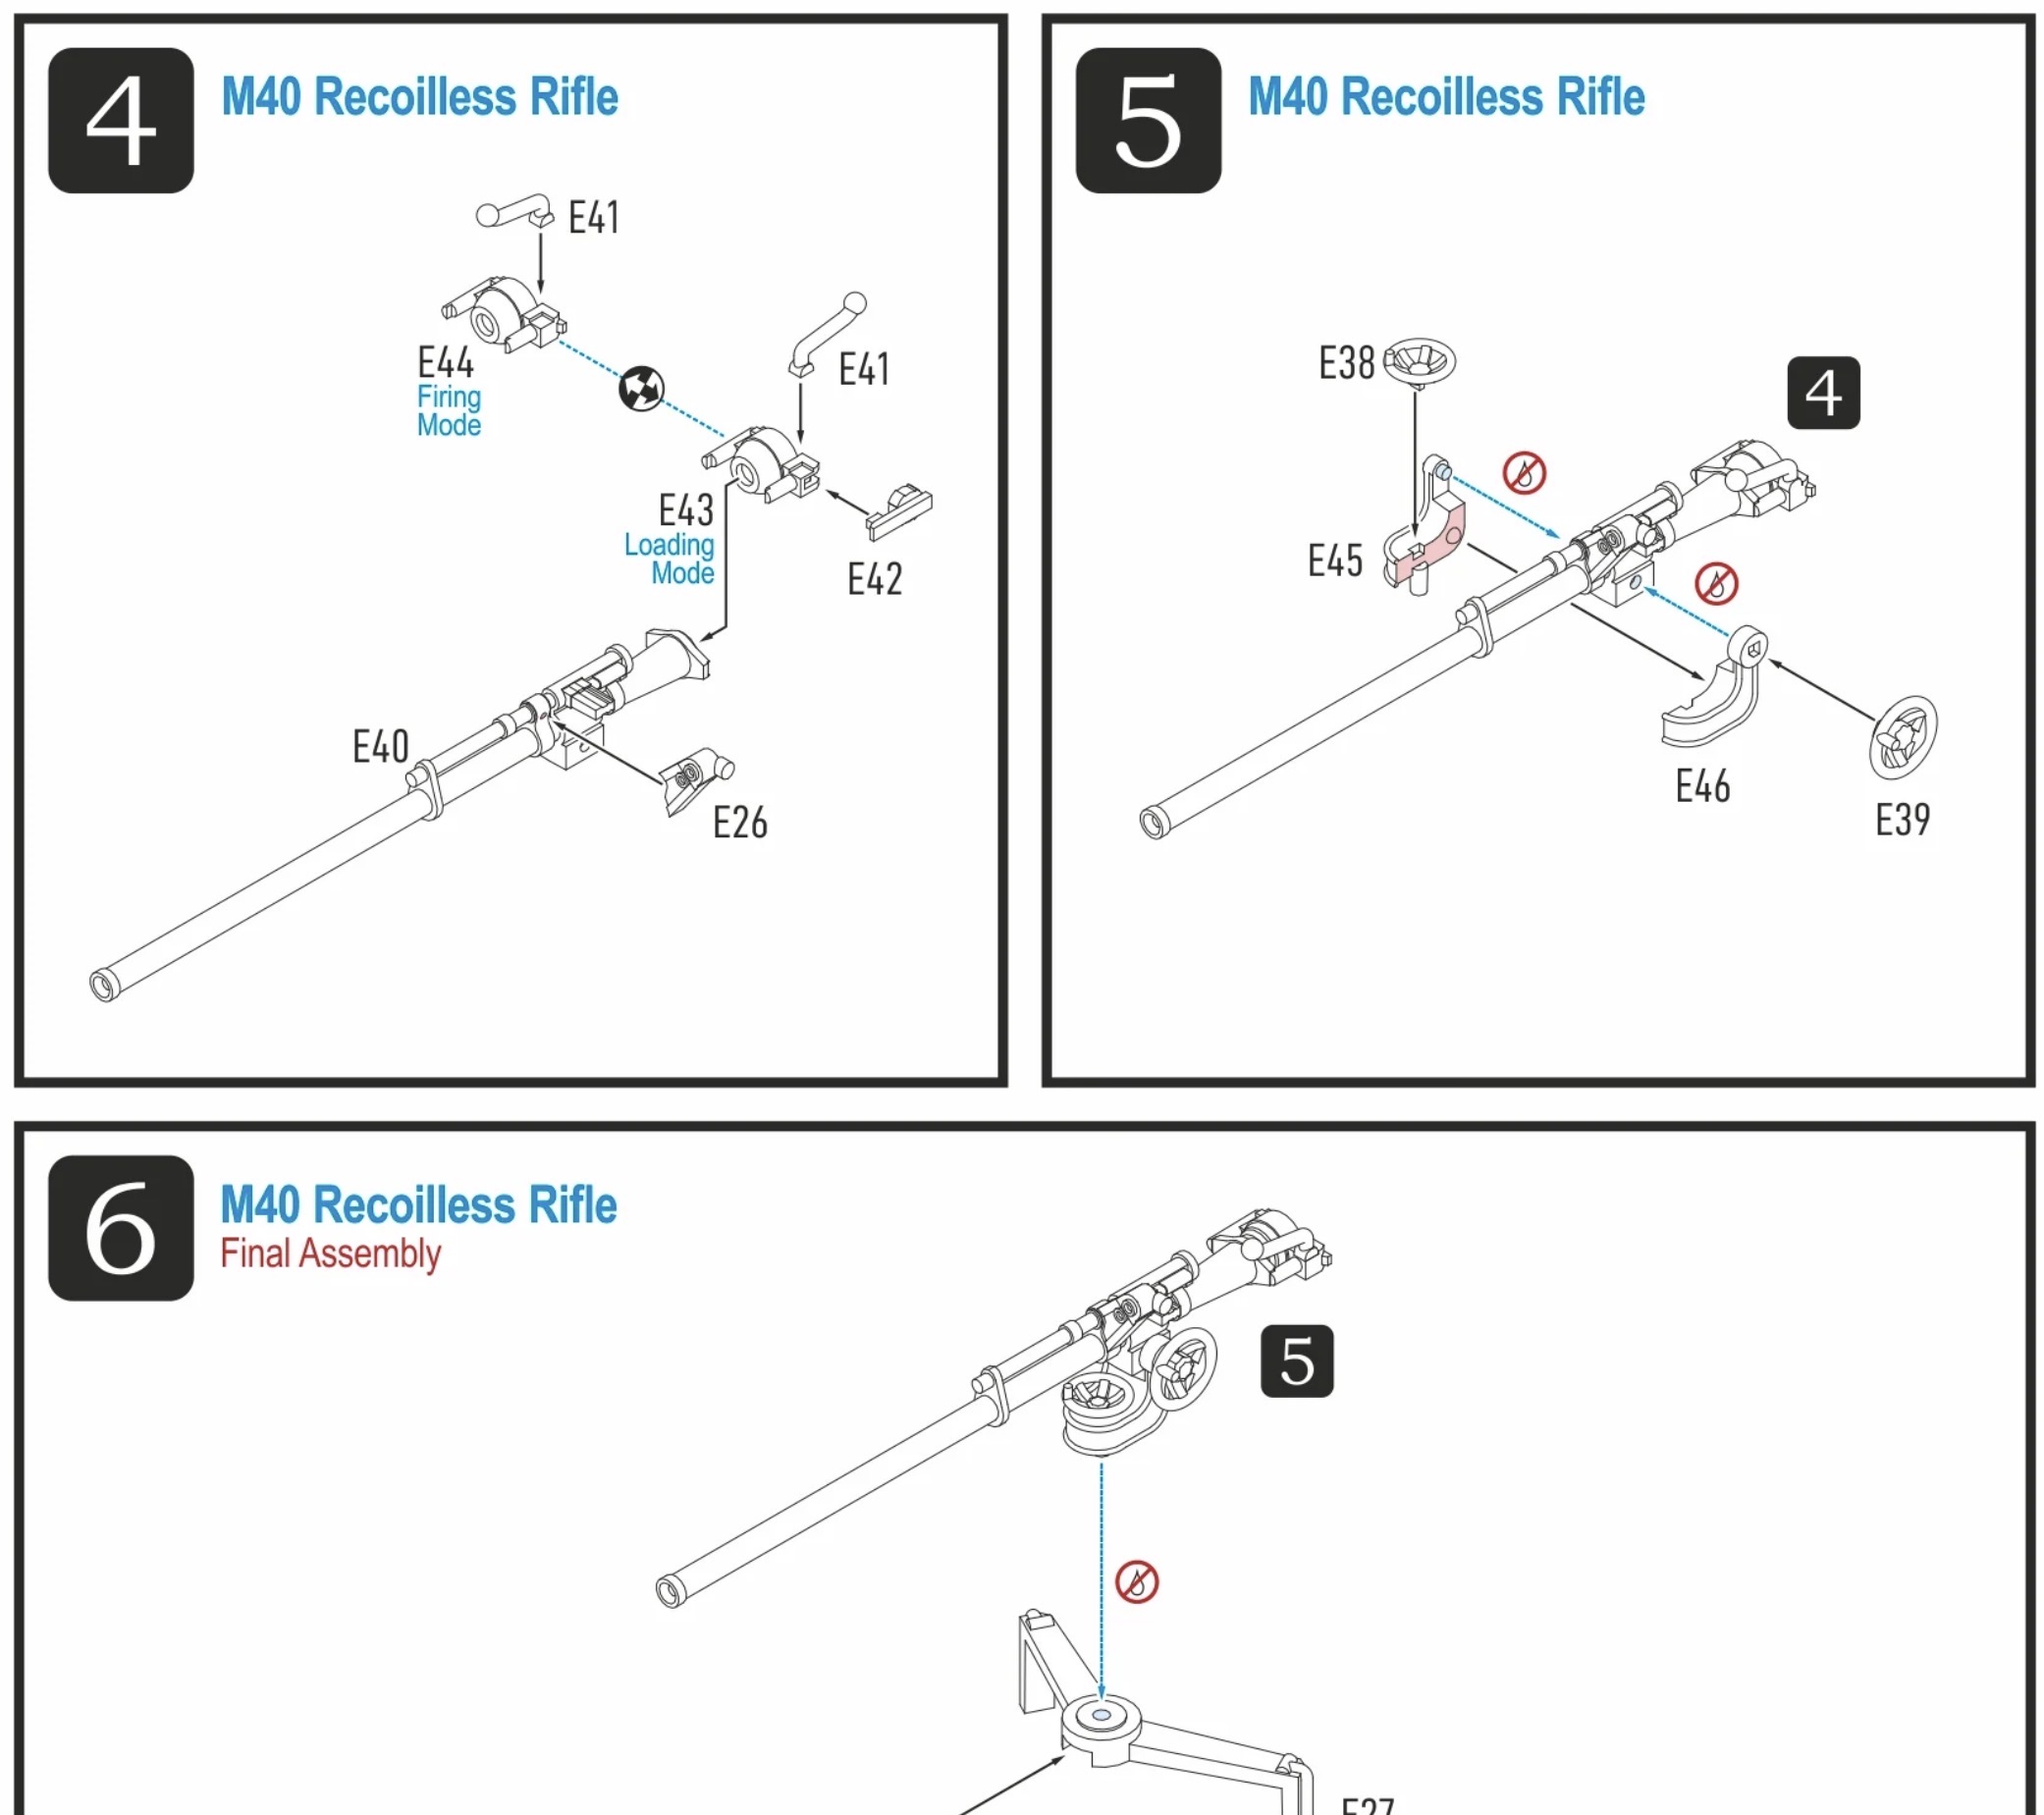
Luckily, I found a set of instructions for a 1/35 plastic scale kit which gave me a pretty good idea how I might break down the M40 into separate sub-assemblies, making the task of printing a 3D version easier.
Scale Issues-What size?
A slight problem I discovered is that it appears that COBI’s Historic Vietnam Series - which this M113 is a part of - varies quite a lot in size and all the models in the same scale. While this is a bit weird I do understand why they have done this, as if they all the models in the series exactly the same scale the physical size of the models would vary greatly.
For example, their F5 Freedom Fighter jet is scaled to 1/48, while their M42 Walker 1/35 and their Huey Iroquois chopper is 1/32!!! 😯 (To make matters even more confusing COBI’s minifig figures which come with some of the models in the series are scaled to 1/35!)
 |
| Above: I resorted to asking Google Gemini AI for the scale dimensions for my M40 model (there are scale dimension calculators & converters on the web but this was the quickest way to get my measurements. |
For the M113 they plumped for approximately 1/26 scale, so I would make my M40 gun sized for that.
Size Isn't Everything (That's What He Said!)
Scale dimensions is one thing, but another issue is fit, or rather - how and where am I going to install the M40 on the M113 roof?
A quick search for reference material showed me that on Vietnam-era M113 ACAV conversions, the M40 recoilless rifle was typically a field modification rather than a factory kit and was:
"Rear Roof / Side Mount (Most Common on ACAVs): Crews bolted a pedestal mount to the rear roof deck—usually on the right-hand side behind the commander's armoured cupola—replacing the right-side M60 machine gun and shield. This kept the commander's .50-caliber M2HB turret and the left-side M60 intact while giving the M40 gunner room to stand in the open rear cargo hatch to load and fire."
I found this illustration, which shows a left-hand installation of the M40, so imagine the mirror arrangement for my setup...

But while this give the historically correct position of a M40 installation I have to figure out how I might fit that on my COBI brick model's roof. Here's a photo taken from the COBI instruction manual showing the models roof...

I will have to work out if I can modify one or more of the roof tiles in order to mount the M40s pedestal. It might be a tight fit and may mean me having to do a pre-emptive test build of some of the roof to work out how I might achieve this.
Yet another puzzle to solve!
Meanwhile, Back In TINKERCAD!
While I put where to fit the M40 onto the backburner for the moment, I cracked on with the actual construction of my 3D model of the M40.
As I said, luckily for me it's a pretty simple design - mostly just a long tube with a couple of extra fiddly sub-assemblies for the spotting scope (top) and the breach (rear). I got the main barrel done very quickly...

I decided to go ahead and do the full build in one piece and then - once complete - work out how to break it down into the four sub-components for ease of printing: The barrel, the breach, the spotting gun and finally the pedestal mount.
And that's how far I am at the moment. I'll update you with another post when I am at the printing stage and may have some clues about how this might fit onto the model's roof!!! We shall see.
Post a Comment