
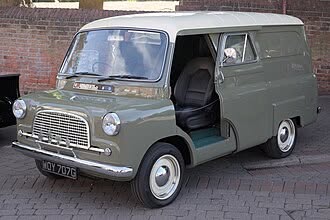
About As Simple A Restoration As You Can Get!
Practise Makes Perfect…
I got this little vintage commercial van as part of m recent eBay haul of Matchbox cars, but this cute little model was the least damaged of the batch. There was nothing to repair really - aside some pitted and aged bodywork - and the paint scheme was as simple as you could get.
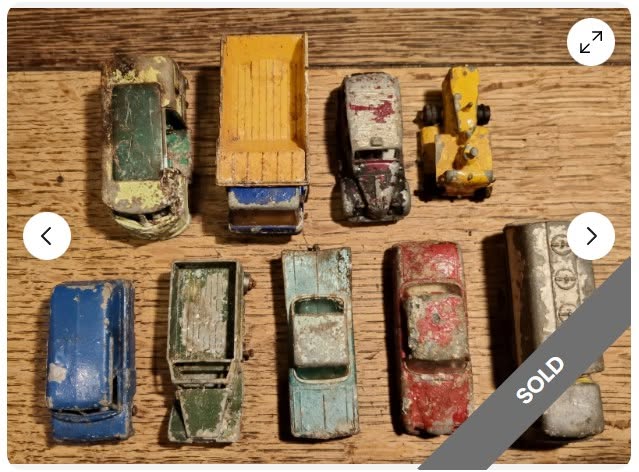 |
| Above: My latest vintage Matchbox car batch - a good eBay find as it included several very badly damaged models ripe for a challenging retoration. The blue Bedford was actually the least damed model, with just chipped paintwork but all the ‘Dunlop’ decals were gone. |
There was the original decals to replace - ‘Dunlop’ signage - but I was fairly confident that my new vinyl sticker technique would suffice in this case (water slide decals would have been better, but I haven’t tried that yet).
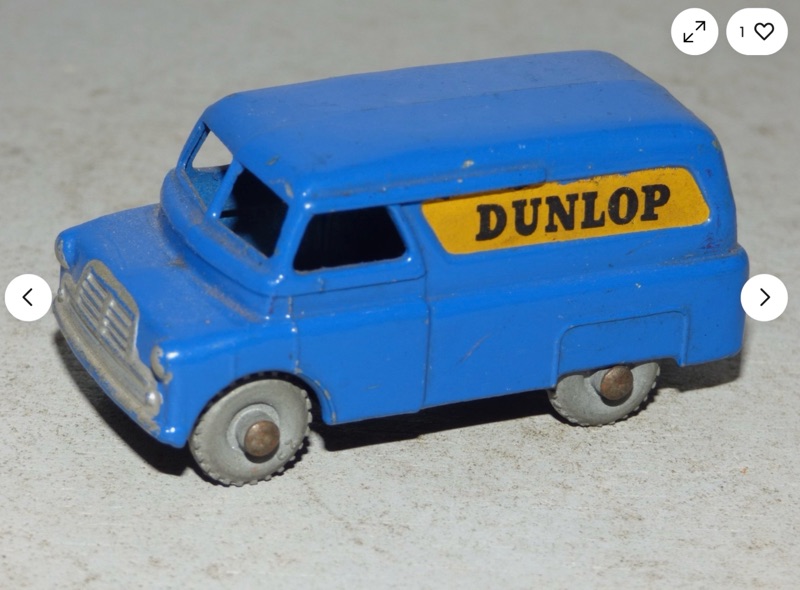 |
| Above: A screenshot from a web page showing an already restored example of the No. 25 Matchbox Bedford Commercial Van. I used this as reference for my recreation of the decal (which was damaged on mine). This image also provided me with a good colour match for the blue paint that I would need. |
The main thing was regular practise and this easy renovation job was all about keeping my hand in with the ‘basics’. All it really needed was a nice new coat of paint really and the additions of the stickers that I was going to make. Simples! 😆
I had the perfect shade of blue in my paint collection, so I didn’t even have to mix up the matching colour!
So, there’s not much to tell about this project really - you can see from the included photos exactly how the job went. There were o small features to mention about this model; it was an early Matchbox car so didn’t have any ‘glass’ windscreen and it’s wheels were of an early type as well and were cast from metal.
These odd features actually made the job even simpler.
As I said, there was nothing to repair, though I did treat the bit of pitting in the casting with some filler. And I guess this is a funny story, as instead of any purpose made modelling putty I skimmed the uneven surface of the bodywork lightly with POLYFILLA of all things!
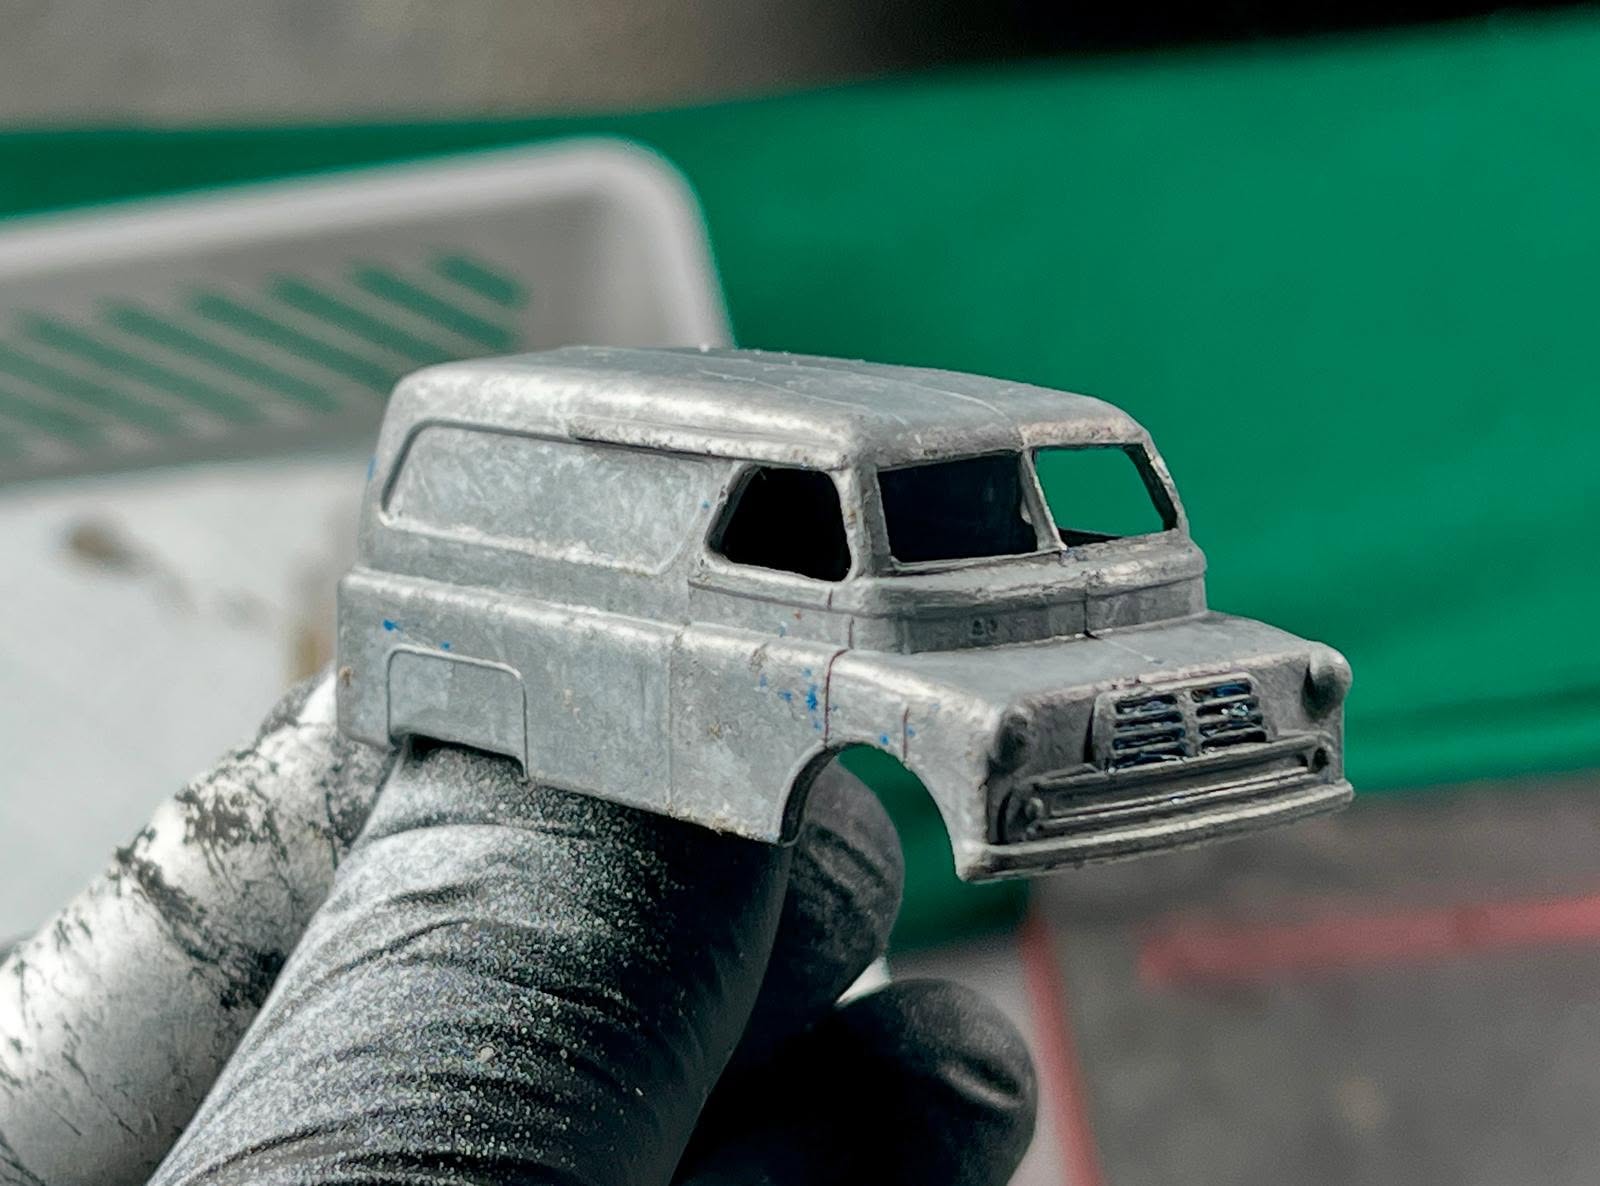 |
| Above: Once I had stripped what was left of the damaged paintwork from my model I could get a good look at the metal casting. There was quite a lot of pitting in the metal and some dents and damage. I think that this model - a long with the others in this batch - had been buried at one time (not uncommon, as I myself had lost many toy cars in our garden when I was a kid). |
Obviously this is a lightweight plaster which is not normally used for model filling, but I found that is glided on perfectly and was easier to sand smooth on this small metal model… I guess that if it works then it works! So I will use this again.
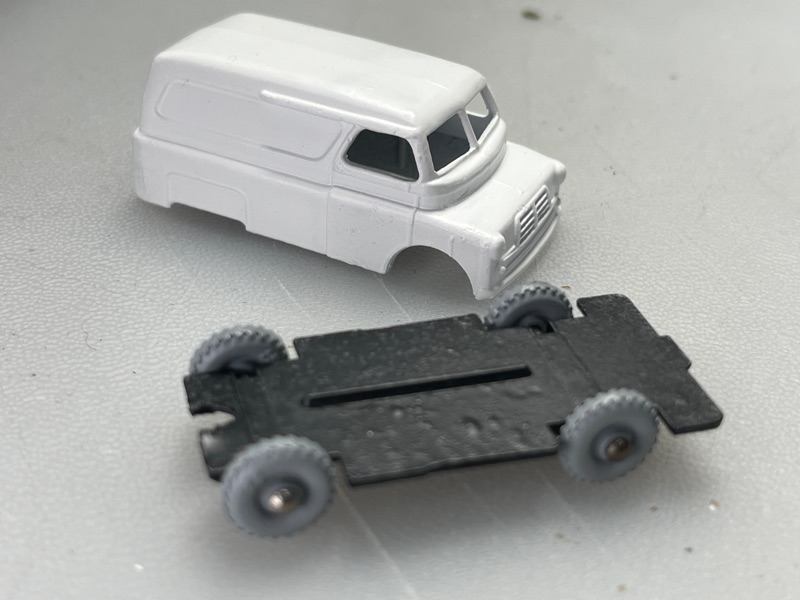 |
| Above: Bodywork repaired - with Pollyfilla - and a couple of coats of white Tamiya Fine Primer later the finish looks flawless (ish)! |
The problem with using normal modelling putty or my alternative medium - MILLIPUT - when doing small models is applying very small patches of filler without covering any fine detail. If you use a filler that hardened solid it can be a bugger to smooth out - especially if it inadvertently goes over details that you hadn’t intended to go over (a problem when you have poor eyesight) - but Pollyfilla is quite soft and easy to remove. You can more easily control your sanding of the filler without having to use excessive force.
Obviously, once you coat the model’s surface with the primer and then the paint coats it gives the softer Pollyfilla repairs some protection. And as you can see from this photo the surface - which was very pitted - came out flawless…
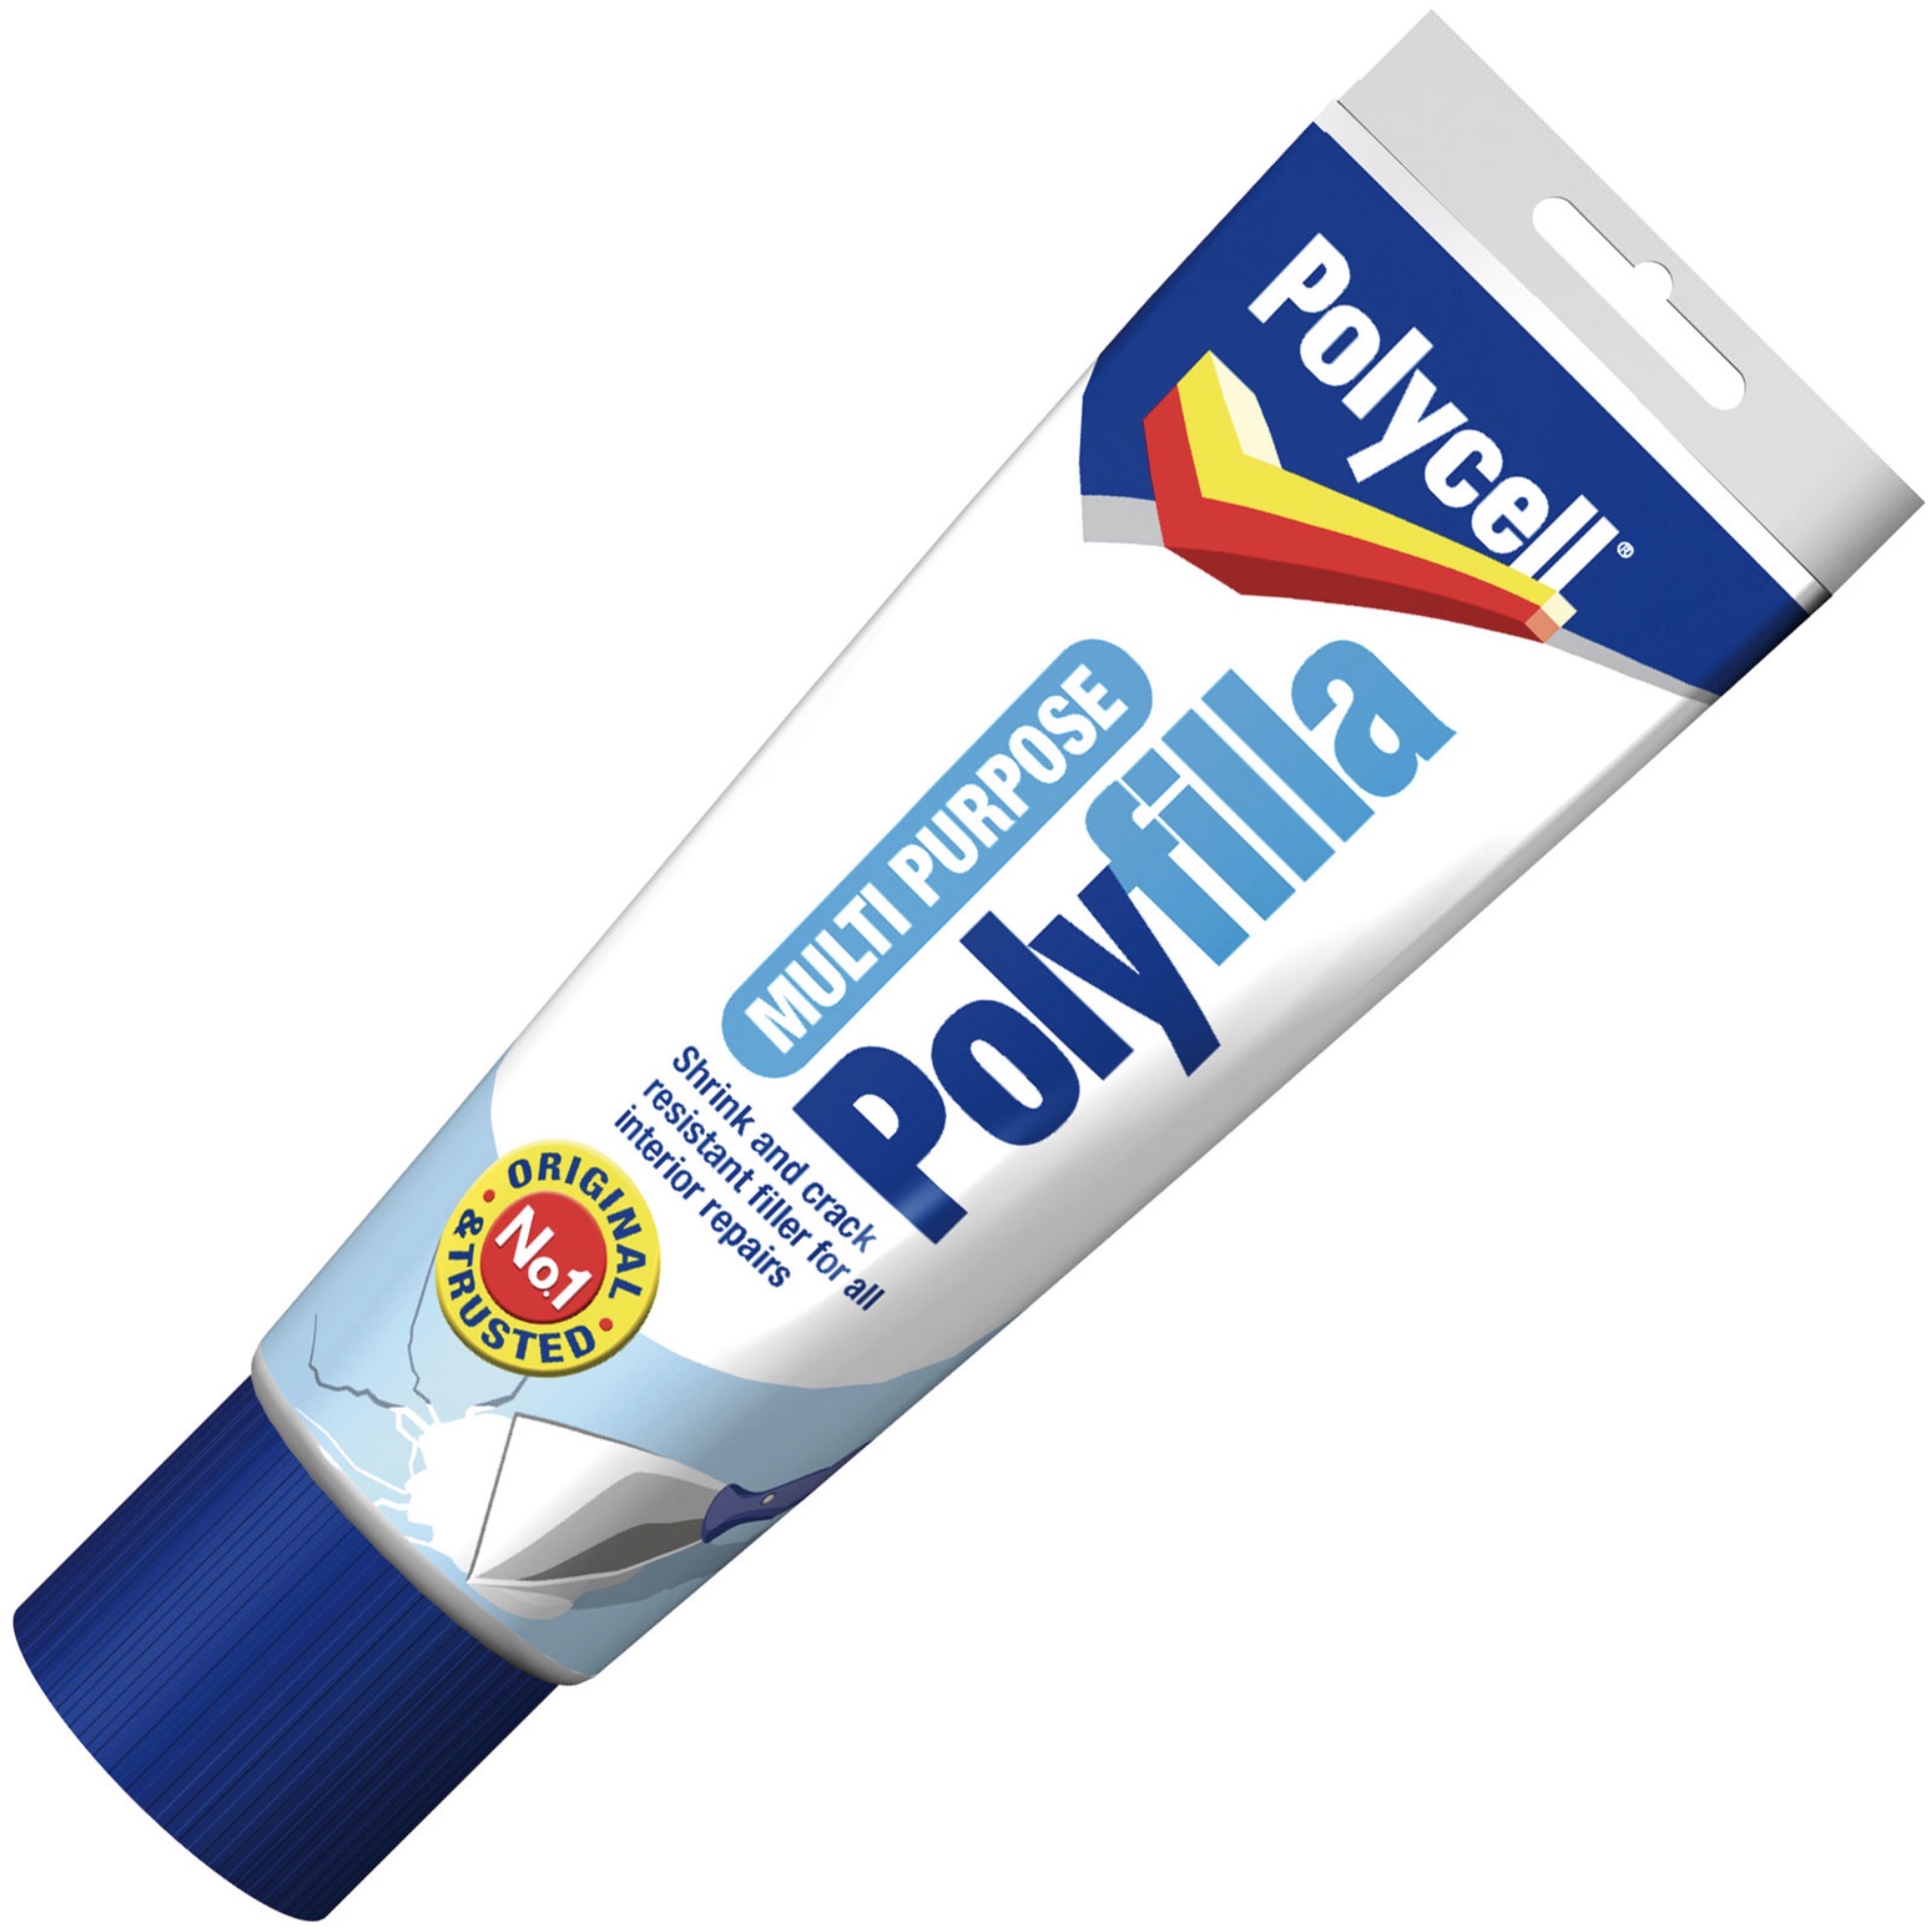 |
| Above: Not what I would usually use to fill or repair a model’s surface, but it turns out that POLYFILLA does have some advantages over solid hardening putties. |
Making The DUNLOP Decal
The final job worth mentioning was my recreation of the models decals. Originally matchbox used a type of waterslide decal I suspect and I could have done the same, either by ordering a replacement or by printing my own. But, as I said, I have not tried laser printing waterslide decals (yet) and went with stickers because I have just started doing these.
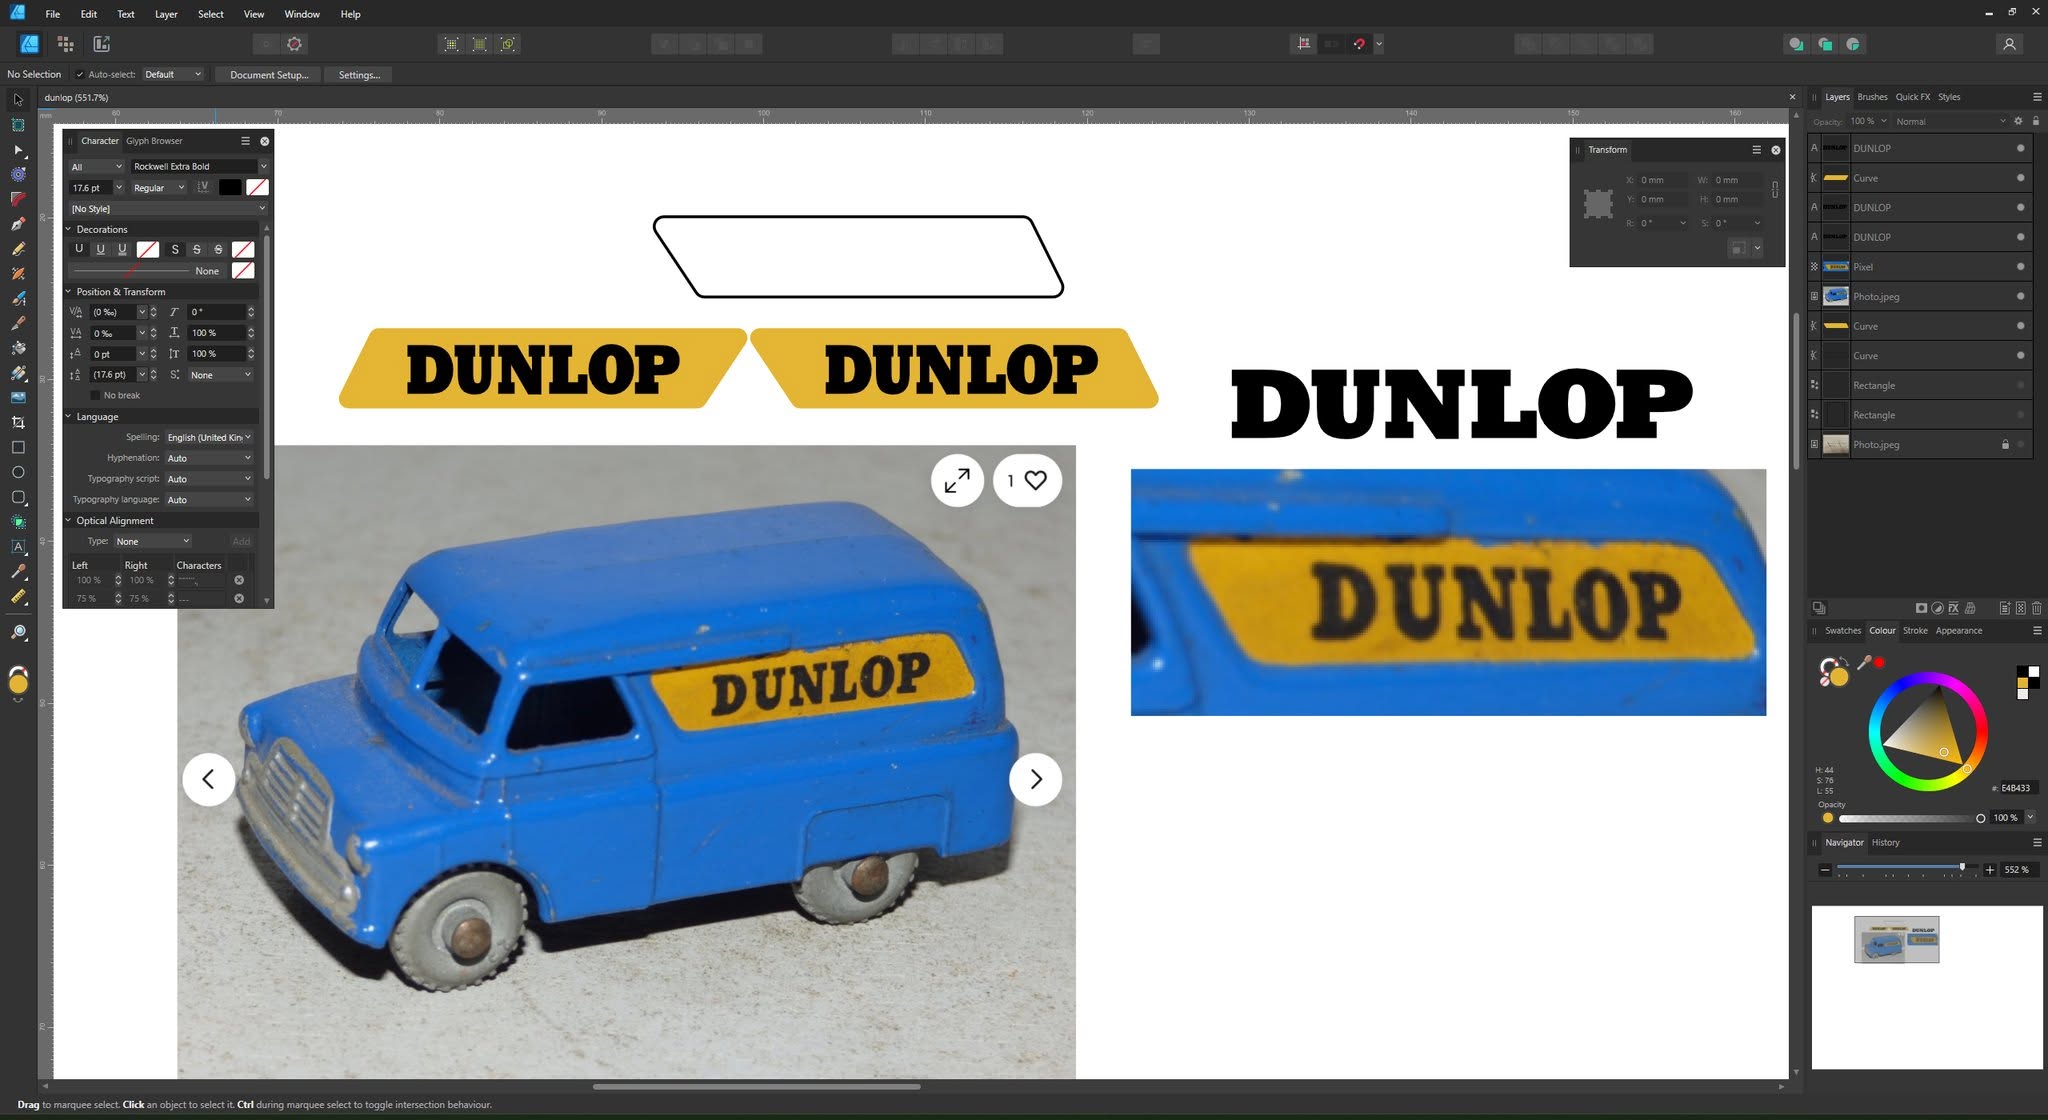 |
| Above: Recreating the Matchbox ‘Dunlop’ signage in Affinity Designer software. I pulled in some photo reference for colour matching and found a font that was pretty close to that used by Matchbox. |
Usually the two hardest things about recreating decals is colour matching and finding the correct font for any lettering, but in both cases I kinda just found passable close matches. The ‘Dunlop’ font turned out to be close to the Rockwell Extra Bold font (with some tweaks). My plan from here - the design on screen - is to print a test on play printer paper just to check size and colour. I’ll cut out the paper prints to make sure they fit nicely into the van’s panels before going on to printing out the stickers.
These will be simple to cut out with scissors in this case and should stick snuggly into the panels (fingers crossed). As I said, I would - in future - like to experiment with water slide transfers instead of stickers, though stickers have the advantage of being able to easily replicate any white areas on a logo. Doing so with waterslide decals requires an expensive printer capable of printing white ink (though there are workarounds with ordinary transfers).
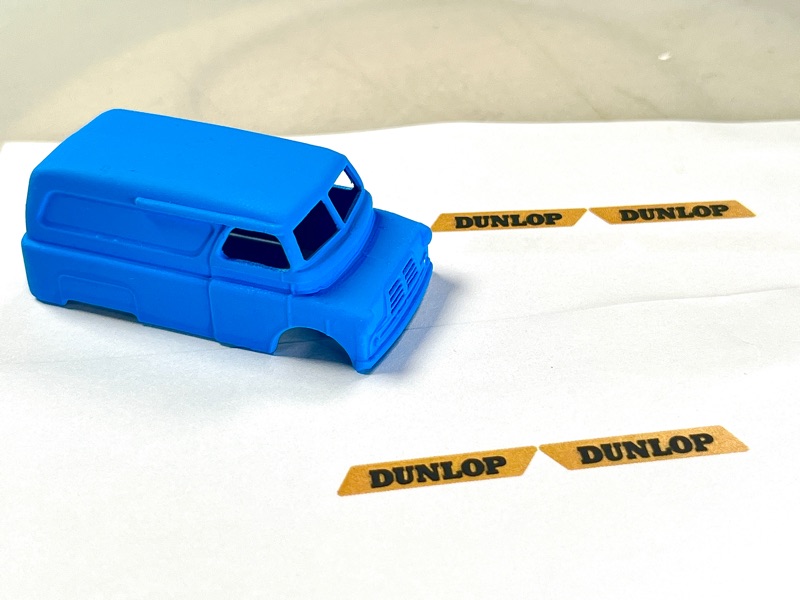 |
| Above: The test paper prints ready to cut out and check for size. I also noticed that the text came out looking a little too big and bold, so I took the opportunity to reprint these again but in a slightly smaller size. |
So, that’s that then - a real quickly but a fun and relaxing project. And another Matchbox restoration to add to my little collection. I’ll do the dual reveal of the finished project in it’s own separate post and feature which of the other damaged Matchbox vehicles from this batch that I will be working on next… I already know, and believe me that when I say ‘damaged’ I really mean it for the next renovation. It’ll be a real challenge!
Post a Comment