
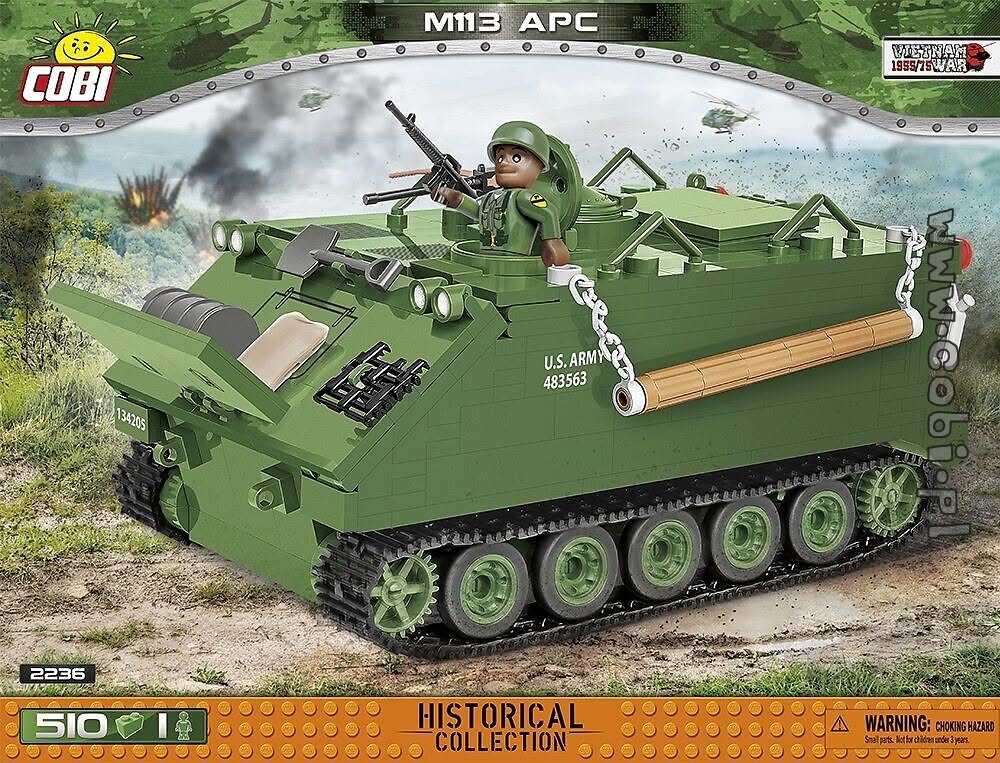
Planning For My First 1/35 ‘Brick’ Armoured Vehicle Build
Learning How To Build Brick Models - New Tricks
While I have built five ‘brick’ models now I have been building them ‘out the brick’ with a very straight forward approach… Take the bricks out the box, follow the instructions and simply snap the parts together.
The biggest issue I have found so far about this simple method is the interminable searching around to find the right parts that each step requires in the build. Each model I have made has been slightly bigger than the last, with consummately more parts, and the mountain of individual components has outgrown my initial use of a modest plastic tray in which to sort them.
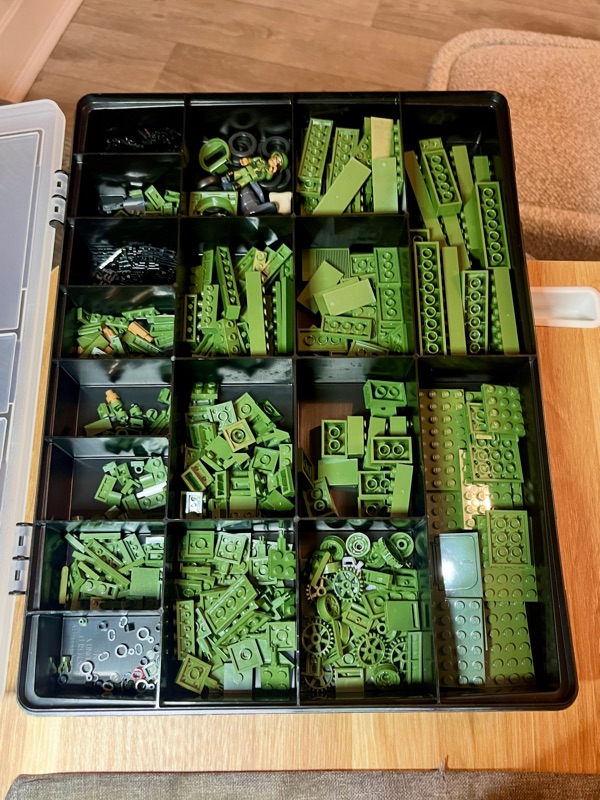 |
| Above: My latest tray. Bigger than and with more compartments than my previous ones, I picked this up at Halfords for just a fiver and it seems to handle 500+- part Lego kits OK (just). |
In fact, I have two issues with sorting components. The first is simply having a tray large enough to hold all the parts - with enough compartments to separate all the many parts - so that it is easy to find the bits I want (particularly when they are small parts or if there are many parts of a similar type).
The second problem is that when it comes to my filming my builds I don’t really want to be scrambling around hunting for illusive parts as it often causes me to have to stop recording until I finally find the one that I am looking for. This whole stop and start filming can get a bit frustration.
So, I decided that I wanted to ‘pre-sort’ all the components to match the instruction stages before starting construction. And then I came up with the idea of using small plastic bags to put each set of components for each of the construction stages and then numbering them so that I just had to open the appropriate bag as I started whichever stage I was on!
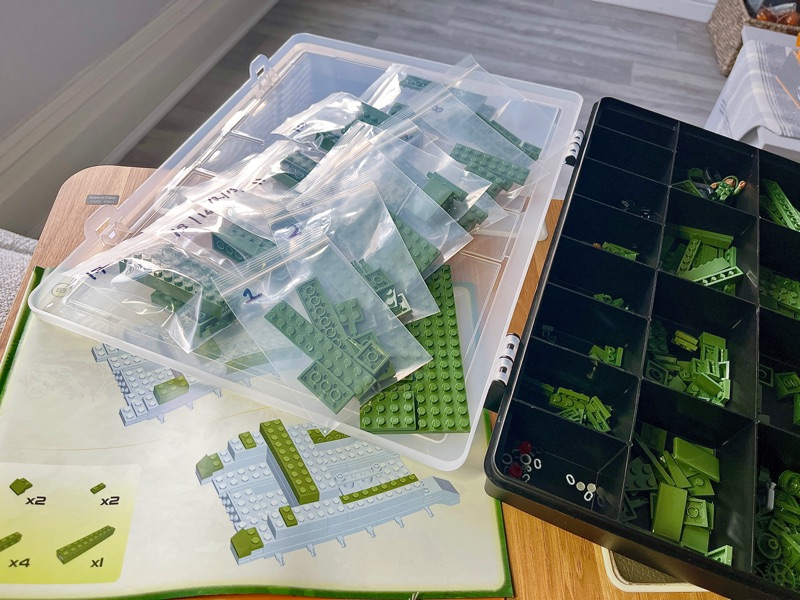 |
| Above: My latest idea for sorting brick kits prior to filming is to further sort each stage in the instructions into their own plastic baggy. I number these and open them up as I am about to film that stage in teh construction. |
Sorting the parts like this before starting my filming session really saved a lot of time (in fact, I trialed this technique when building my last brick model - my Mirage III jet - and it really made the whole filming process a lot smoother).
Finding Bits Is One Thing - But How Do I Film The Build?
Another major puzzle for me - when making what is essentially a 3D puzzle - is how best to film my doing it!
I haven’t yet decided which is the best format for showing a build in progress. My first attempt was to simply turn the camera on and record my putting all the parts together in real time - but this was a lengthy way of doing things. And in my latest recording I trialed trying to do a fairly rudimentary time lapse recording of the model going together piece by piece, speeded up.
 |
| Above: Rather than just a straight forward record of putting the brick together I’d really like to include some historical or reference material along with my build. For example, I want to show some memorable M113 scenes, like this movie moment from Full Metal Jacket! |
Unfortunately, I had a few technical problems while doing this - not least that I have never done a time lapse before - and the end result wasn’t altogether pleasing.
However, I still think that the ‘fast cut’ approach of the time-lapse technique is the best way to showcase a brick build - I just haven’t perfected the best camera angle/s to use when I film my build yet.
So, for the M113 build I am going to try another variation of the time lapse.
Why Reinvent The Wheel?
The thing that worries me about filming my brick build is that there are already so many people out there doing them. Not only that but some of them are better script writers, more engaging camera personalities and better film makers than I am… So, how do I make my builds stand out?
Above: One of the most popular brick build channels out there, ‘BrickMeet’ goes for a combination of ‘no commentary’, with time lapse but includes clever video editing where they use 3-quarter views of their hand placing the bricks.
Well, I’ve decided to come up with a more interesting commentary for a start, going into the history of the subject which I am building. Along with this, some chat about what interests me in this particular model and whether it has any personal meaning or connection.
I also want to include some secondary graphical refernce material, just to give some interest to the never ending placing on one brick intro of another! 😉
 |
| Above: Including some reference to the importance of the M113’s role as an iconic APC over the last sixty years will be how I think I will frame my build videos. |
So, we shall see how this video build goes… Maybe - eventually - I might actually get better at doing this sort of thing! (?)
First Attempt At A Custom ‘Lego’ Build
The whole ‘Lego’ (or brick) building hobby is quite deep, like any hobby there are those who take the pastime to extremes - this is the world of the custom Lego building. This may be as simple as adding additional or alternative parts to a commercial model to make it unique, or some builders actually go as far as manufacturing new custom brick to make truly one of a kind models.
I’m not ready to get into the deep end of Lego building, I just want to dip my toe and personalise a model. In this case, I want to convert my COBI M113 APC into what was known as the ‘Armoured Cavalry’ version. This was a standard M113 which was embellished with some additional respecter like a semi-enclosed .50 cal M2 main turret and a couple of additional shielded M60 machine guns.
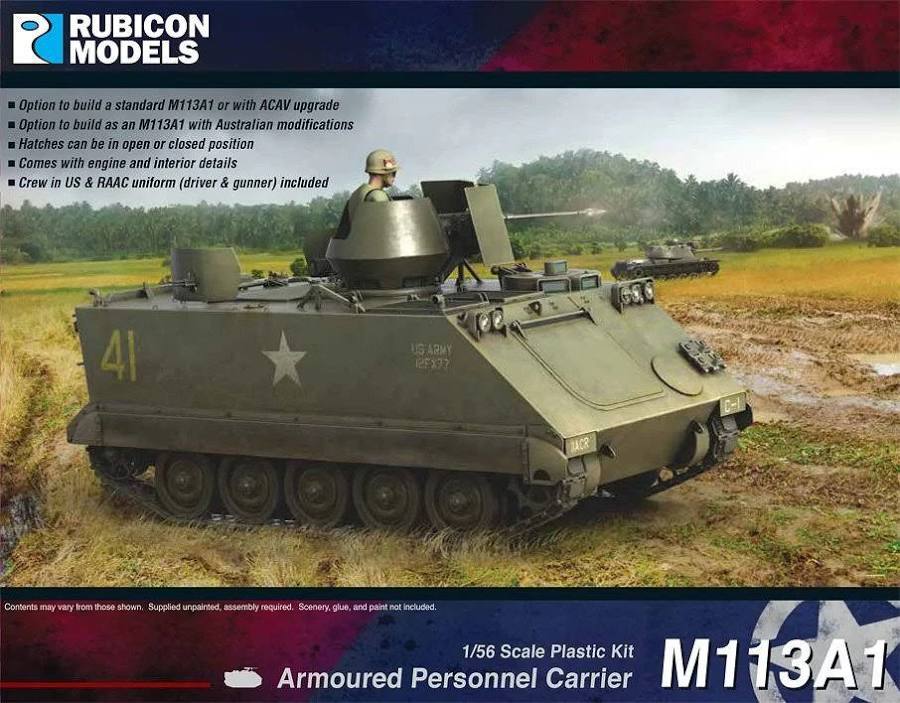 |
| Above: A scale model kit of the armoured Cav version of the M113 APC showing the .50 cal M2 turret arrangement. |
I’m hoping this kind of custom modification to my model won’t be too complex and that I can make most of it from readily available ‘spare bricks’ (which you can buy from COBI themselves of another 3rd party brick manufacturer).
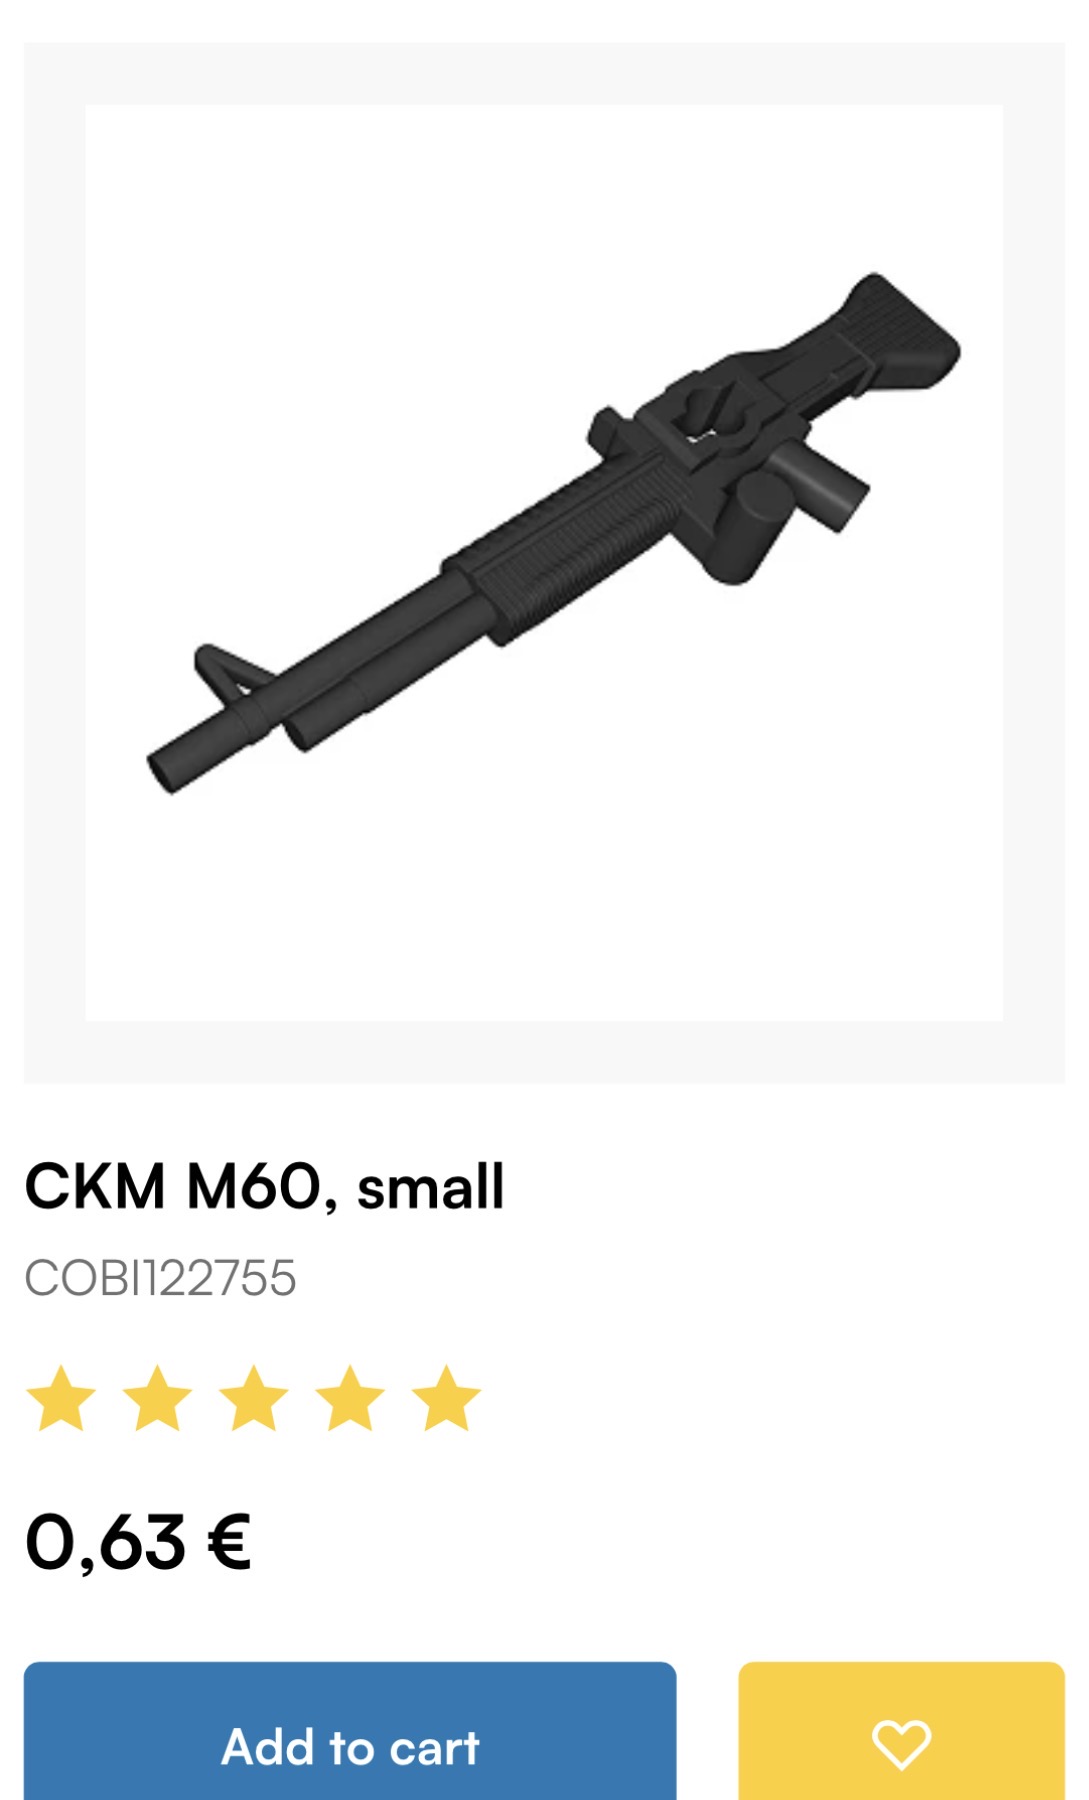 |
| Above: Many brick manufacturer is offer their incendiary of brick parts for sale on their web sites, like this M60 - a part I need. Hopefully I will be able to track down the majority of the parts I’ll require for my customisation, what I can’t I may have to 3D print! |
The hardest bit will be making the main .50 cal ‘turret’ as finding parts that will go together to make this might be difficult. I found a photo online of someone else who has successfully done this exact conversion but - unfortunately - they have not published instructions for doing so. So my immediate thought is that I might have to 3D print the required parts…???
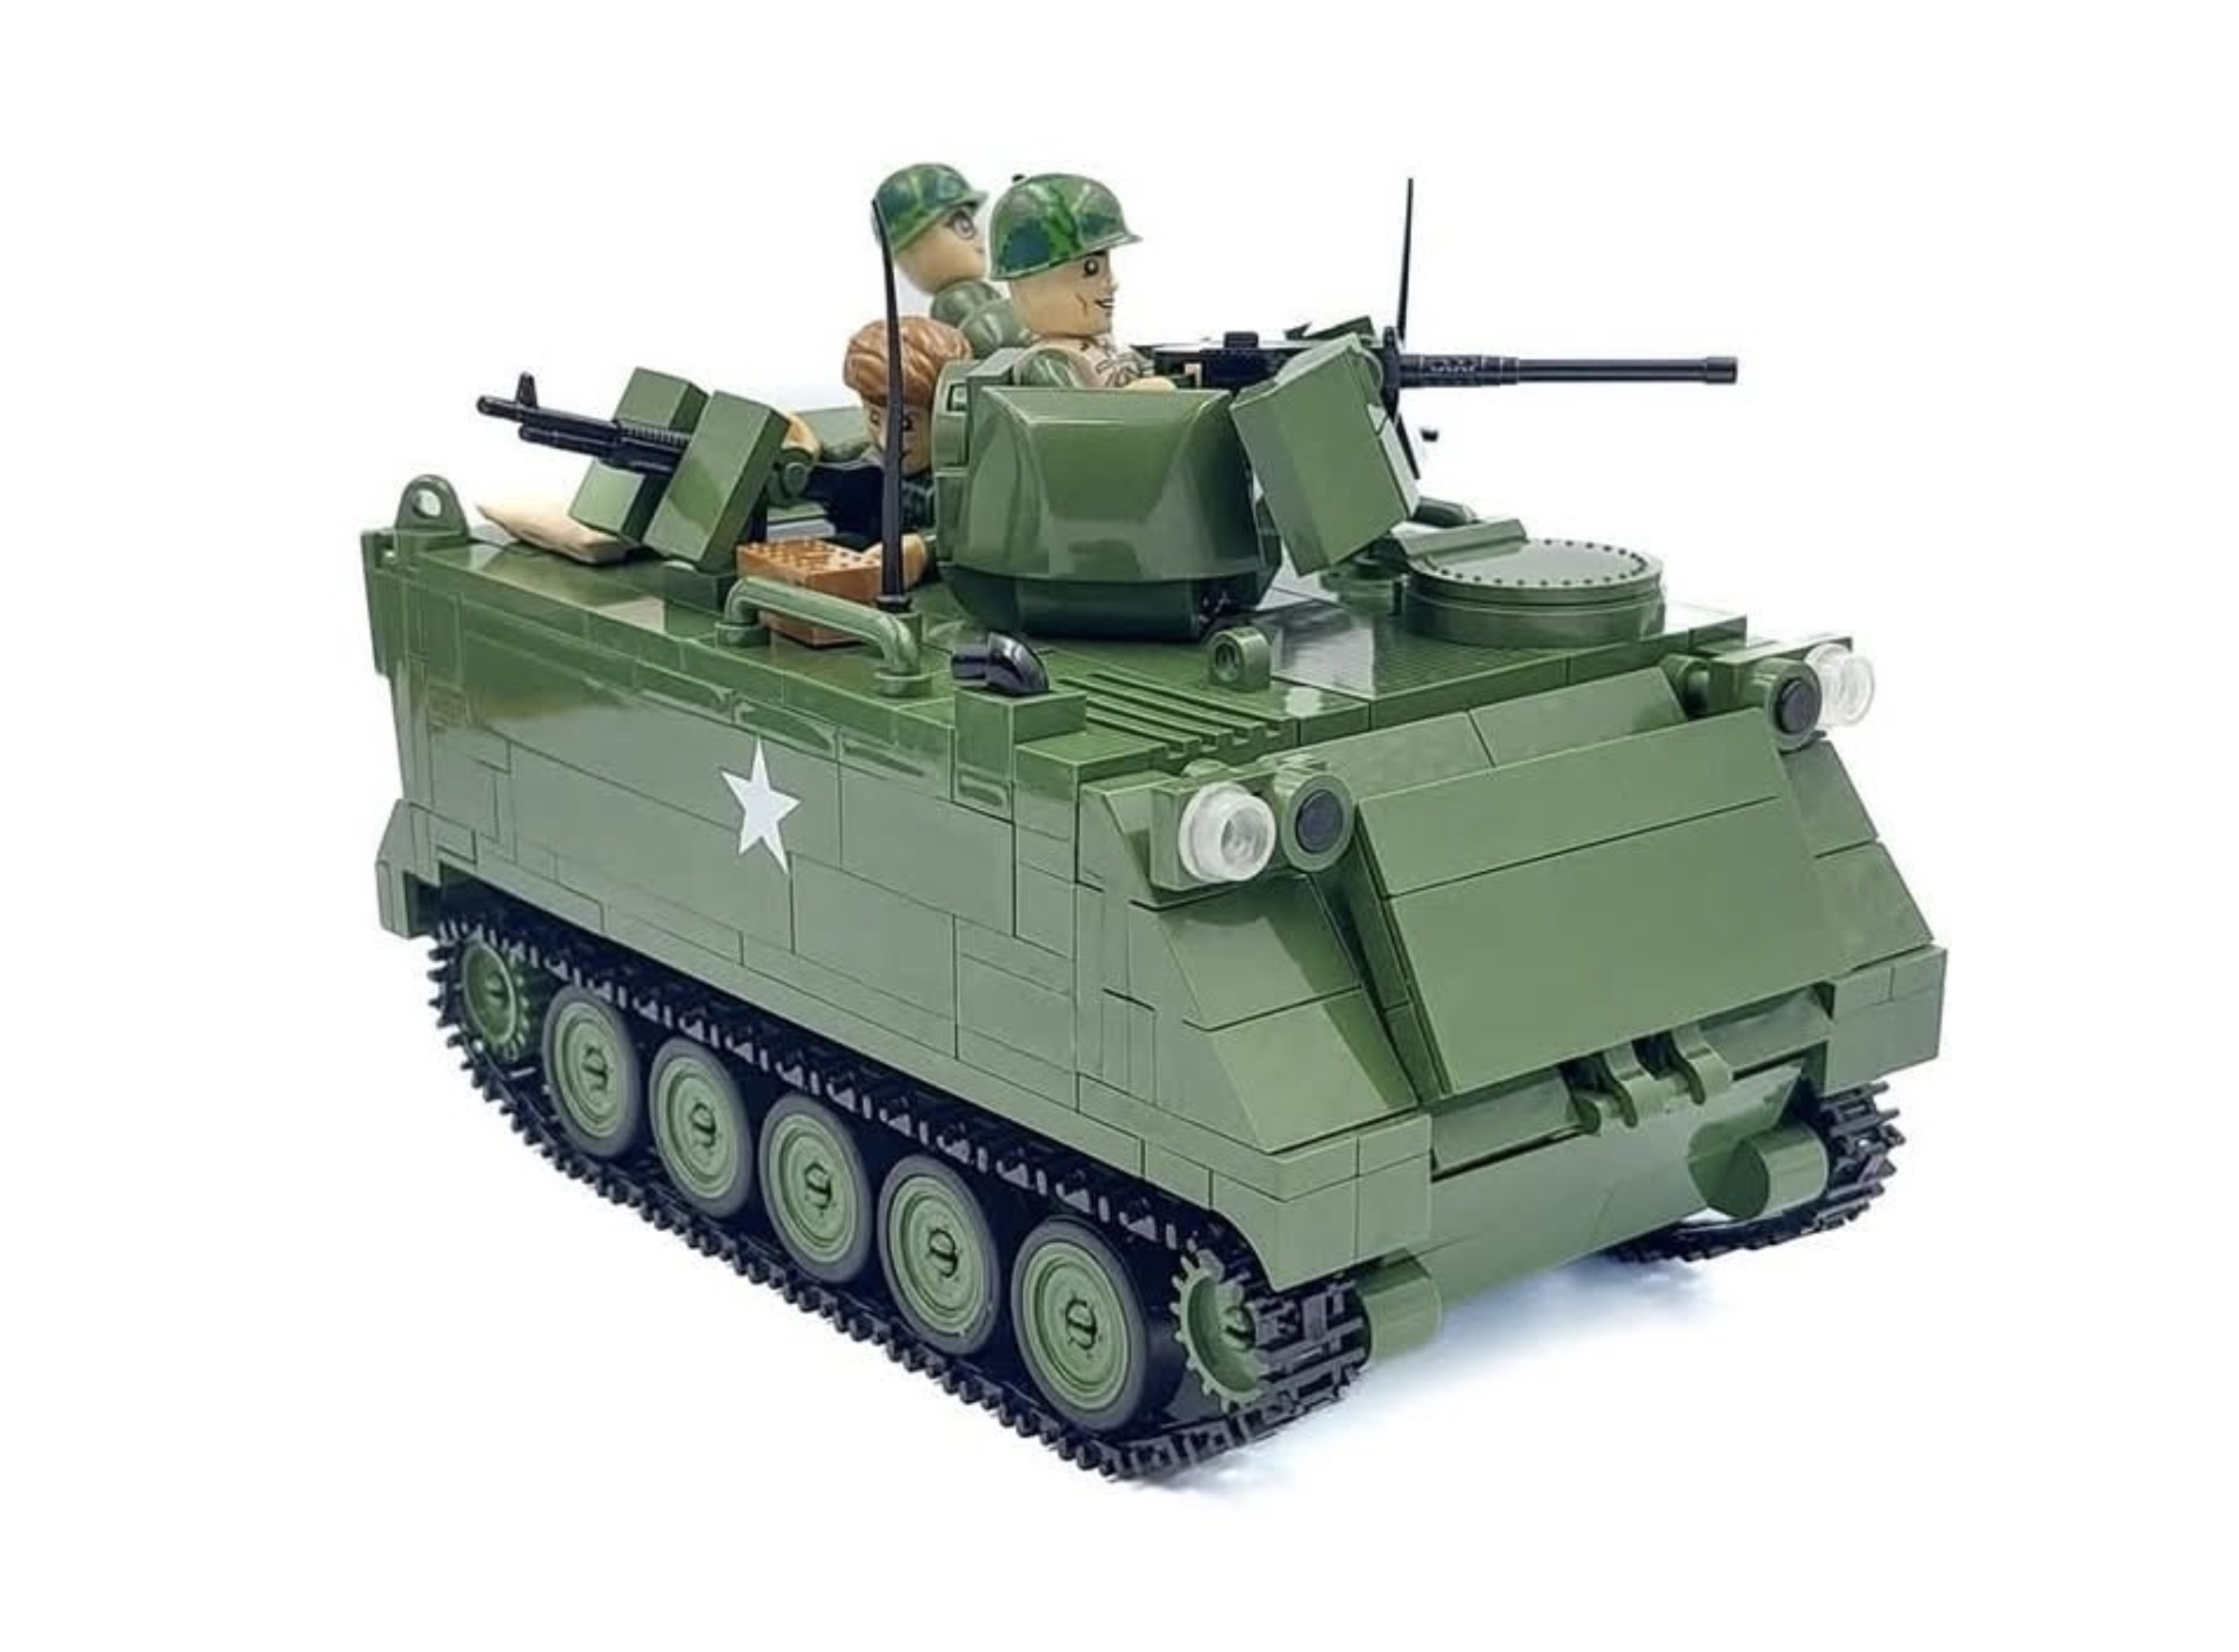
This will make the whole build experience a bit more exciting and challenging that the run of the mill ‘3D jigsaw’ process of building a model out of the box!
Post a Comment