
Designing A Non-Lethal(ish) Capture ‘Weapon’!
Oh, That’s Gotta Smart!
Nobody loves to watch police bodycams where the ‘perp’ get’s a good dose of Mr. Taser more than I do. I can re-play those again and again and again, they are hilarious!
I particularly like to see those tricky (comparatively) long range shorts taken on the run and downing a fleeing miscreant. But, while a taser seems to be a rather ideal high-tech solution to the problem of incapcitating ‘human prey’ (remember I am thinking in the context of a dystopian apocalyptic setting) the taser pistol is a somewhat limited gadget and certainly not so suited to the kind of vehicle based conflict that is the theme of GASLANDS.
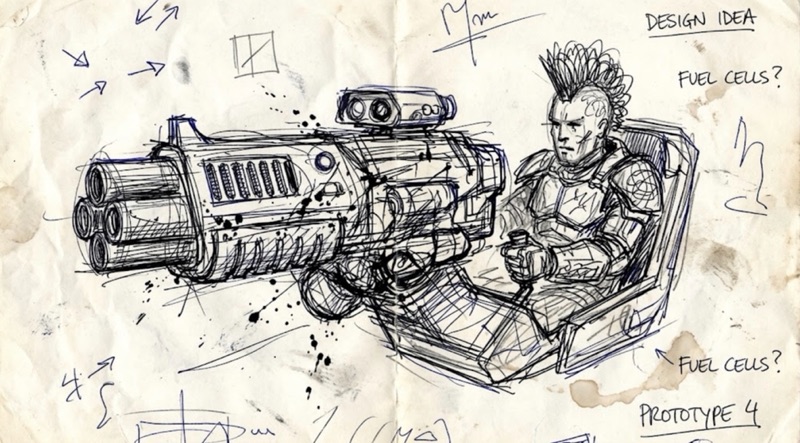
What I needed was a more powerful taser rifle or assault weapon. Fast firing, high capacity and with a greater range. So I turned to AI to try and help me in vision such a vehicle mounted NLW (non-lethal weapon), while Gemini (the AI system I used) took a valiant stab at creating a fanciful electro-charged weapon this first attempt was a little too massive and complex (when you consider that I have to model this in 1/64 scale)!
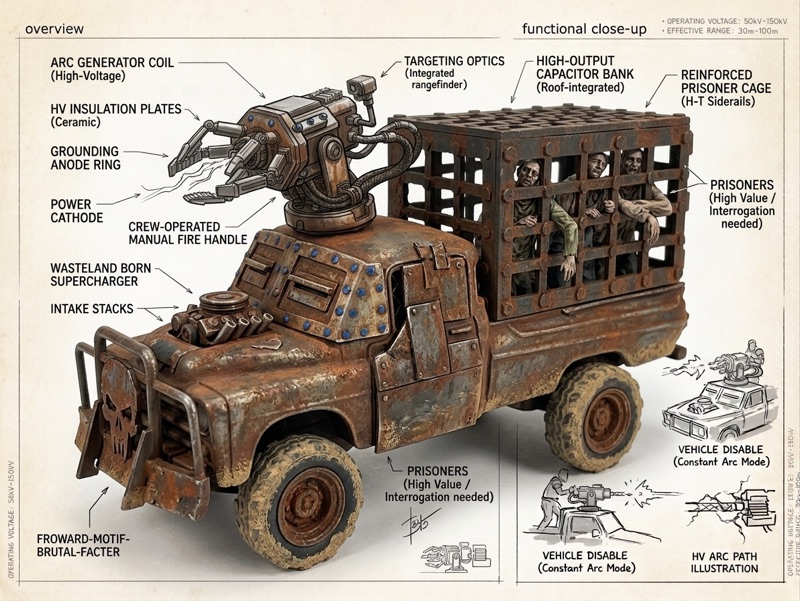
So I did some (terrible) sketches of my own of a weapon more in keeping with the size I wanted. The design was based on a 40K pulse weapon model that I found online which I liked the look of, as it had some nice ‘pulse coils’ which matched the glowing paint effect video tutorial that I found (see part 1 of this series). Then I uploaded my doodles to Gemin and asked it to ‘refine’ these ideas…
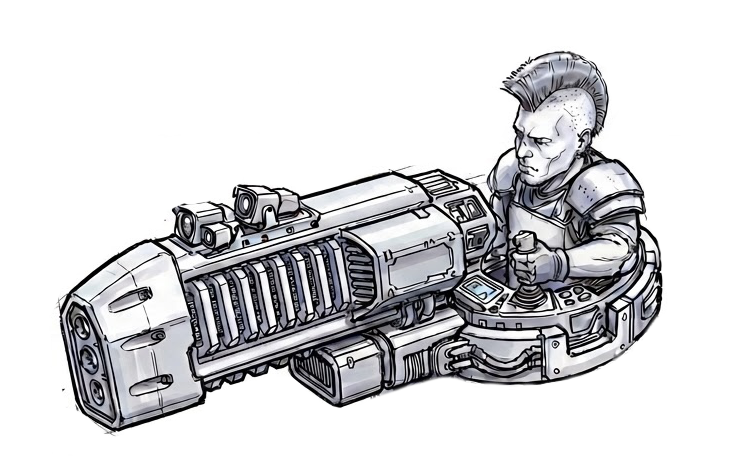
AND THEN… I edited this sketch onto an image of my capture truck model, combining them into a collage, re-uploaded this rough to Gemini once again and asked it to turn this into a conceptual sketch and this is what it spat out…
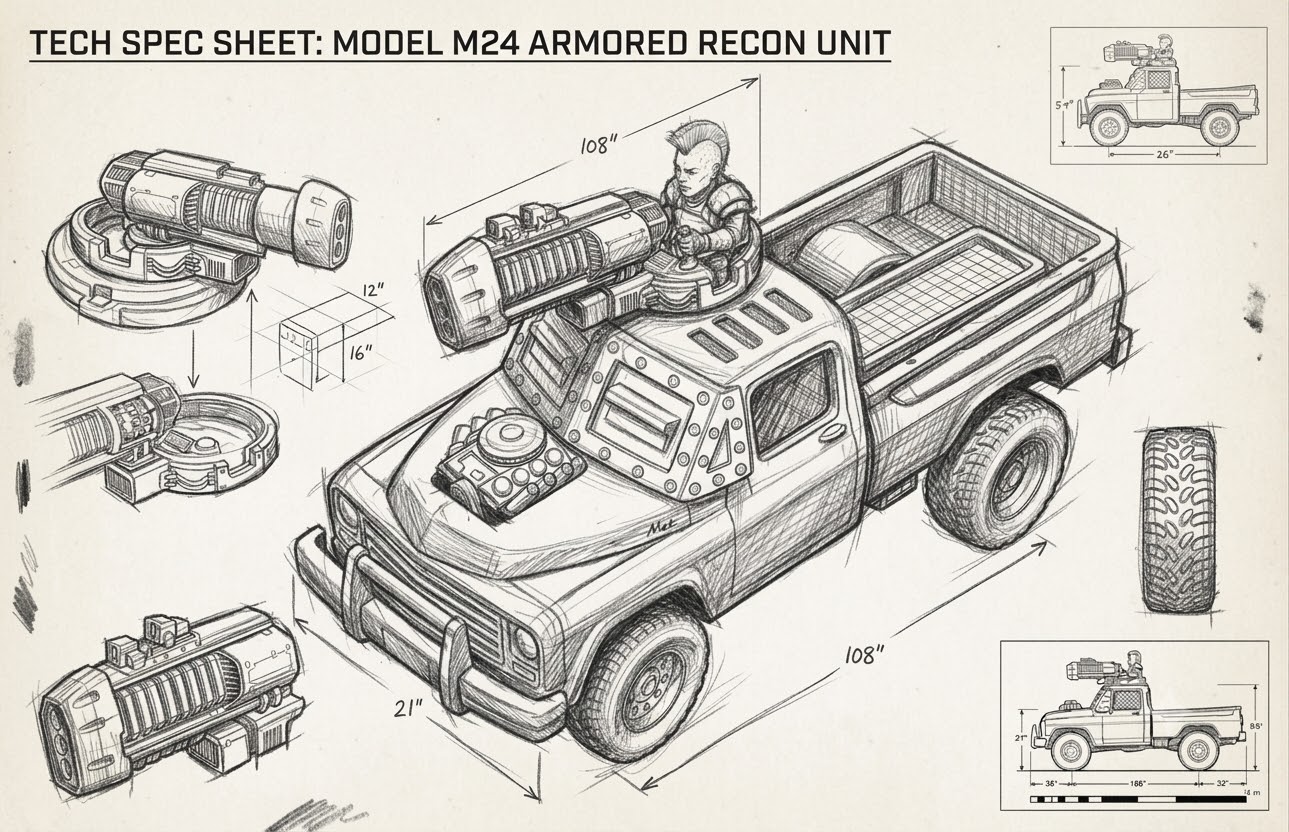
This seemed much more in keeping with the more compact vehicle mounted ‘heavy weapon’ that I had in mind, and I was confident that I could make this as a model as 40k pulse guns are readily available as accessories online. All I had to do was- I thought to myself - was to combine a pulse gun model with the machine gun cupala model that I already have and Bob’s your Aunty, I had a weapon that matched the above concept sketch! (In theory, though the small size still worried me as it might be a very fiddly proposition!)
Model Making Prep
OK, so I had my sketch idea, now I needed the parts. As I said, the pulse gun model was available online and I quickly ordered it (in two sizes just in case, a pistol version and a rifle version). The pulse gun had to look right to fit onto the 1/64 scale machine gun cupola model that I had, hence buying two sizes.
The models duly arrived, from GREEN STUFF WORLD and a range called ‘Puppetswar’. Like I say, these were really intended for 40k modelling which is 28mm (1/56) ‘heroic scale’, but I reconned that at the very least the pulse pistol would fit my 1/64 scale model as a heavy wepon.
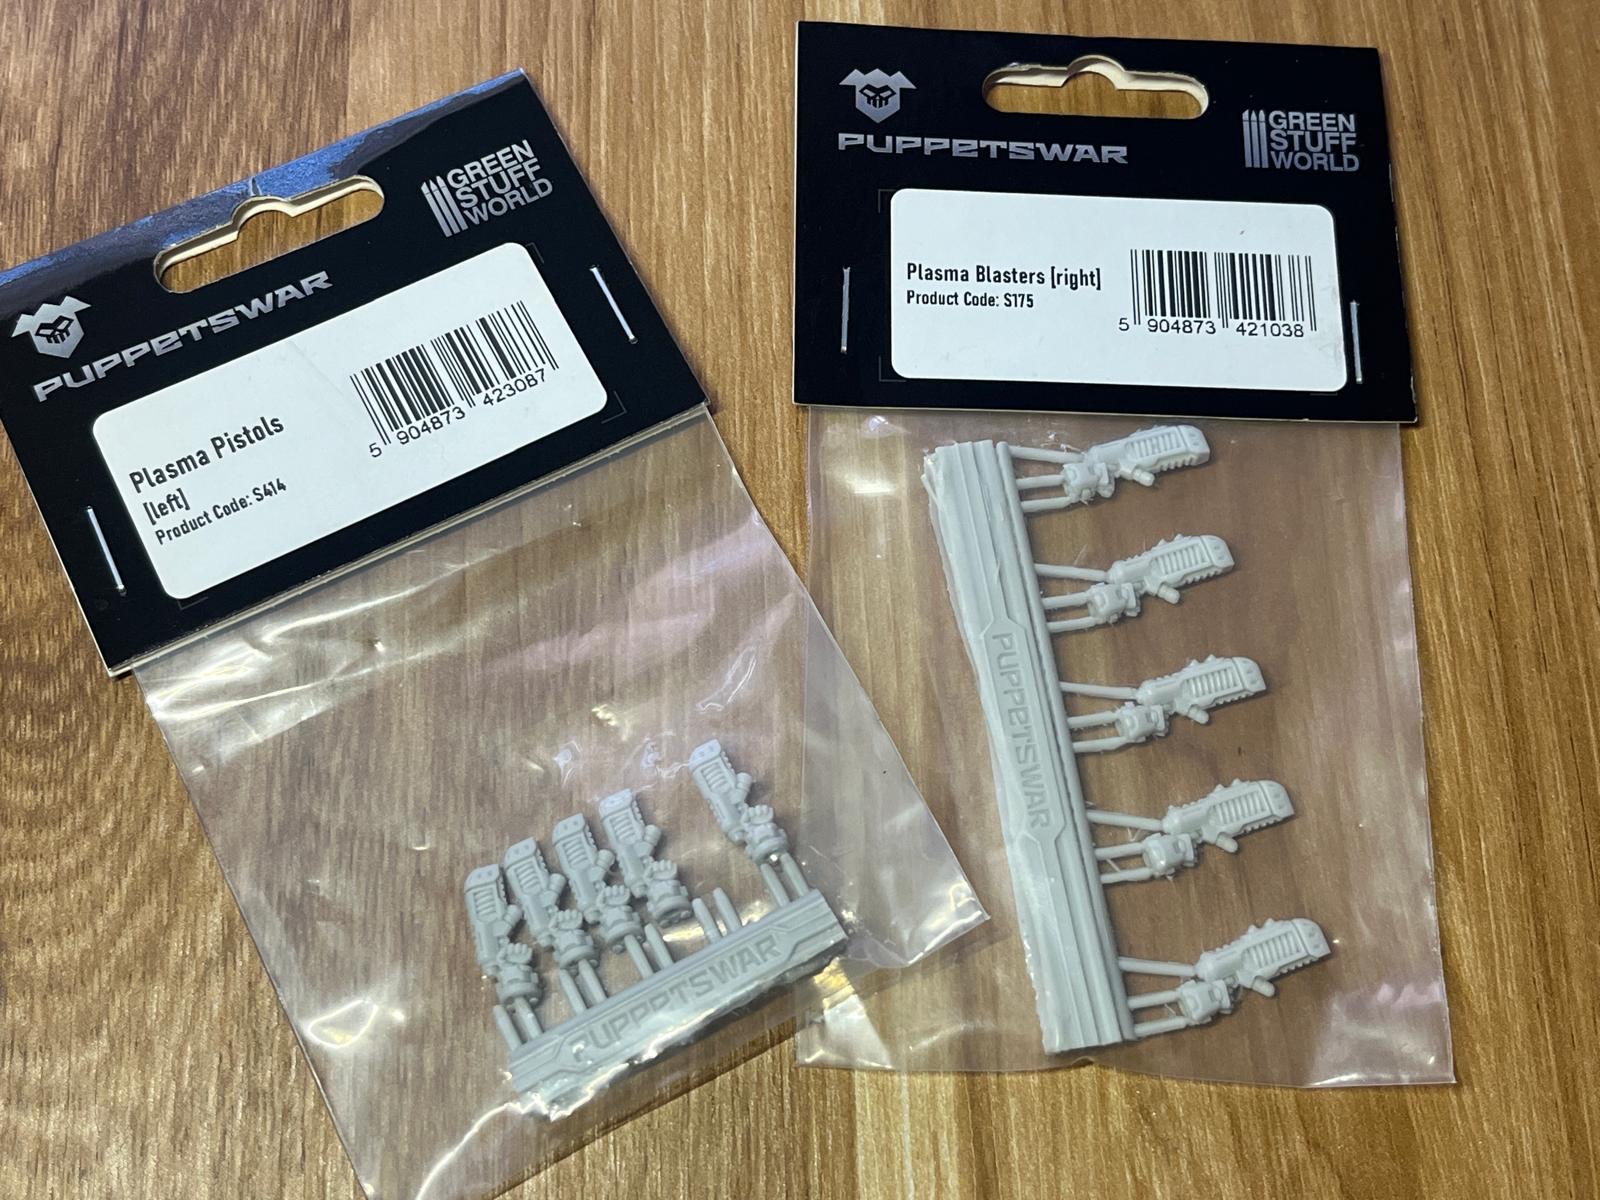
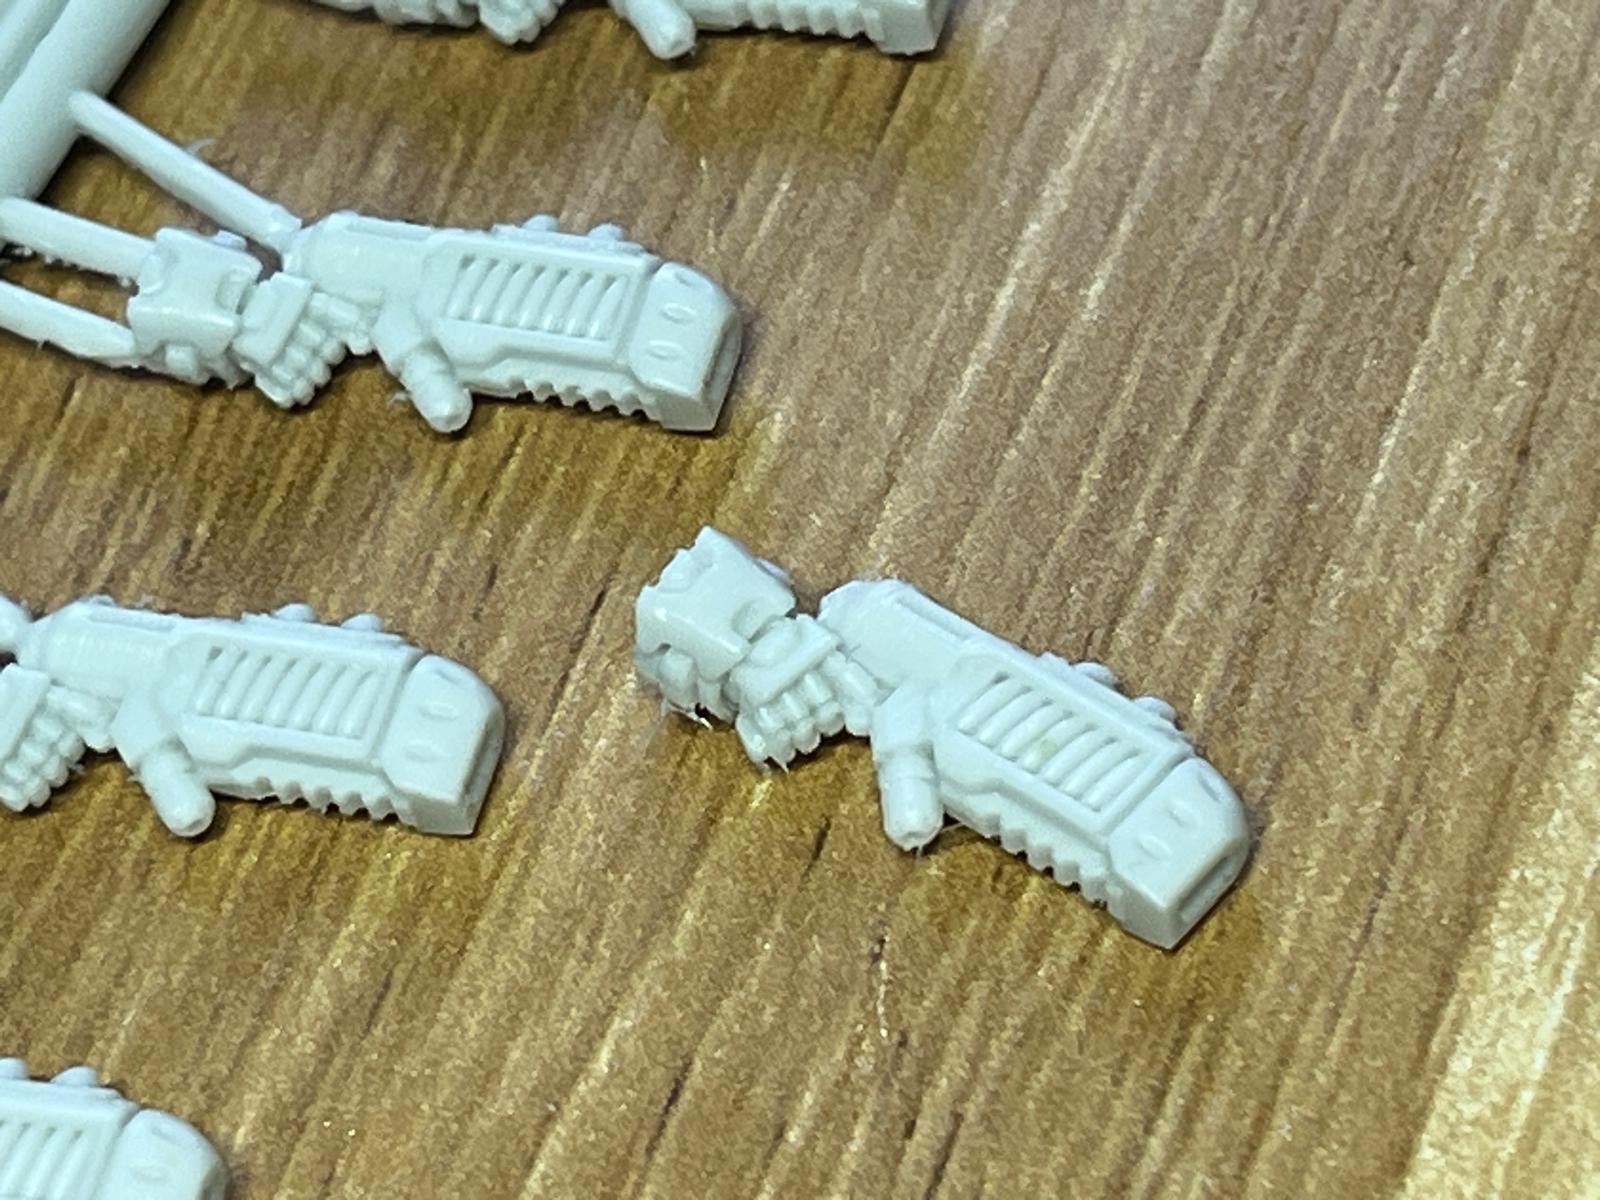
As you can see, the weapon comes with a hand already attached so I would have to remove that before trying to join it onto my cupola weapon. As I said, I will try and make it look more like a heavy taser at the painting stage, adding a electric glowing effect to the ‘coils’ and painting the muzzle piece bright yellow (like a police taser). The tricky bit will be combining this pulse weapon with the resin machine gun cupola model.
Obviously, I will have to cut the .50cal machine-gun away leaving a space to fit the pulse hun into. A bit of surreptitious ‘blending’ will then have to be done to make the two pieces look like they were always part of the same installation. I might also add some sort of protective gun shield to make it more like a turret (or maybe not, we shall see.)
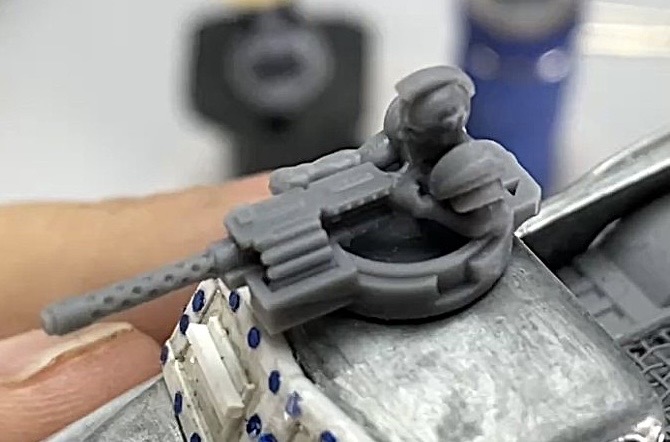
A big part of scratch build model making like this is playing it by ear, so I will be just fitting things together on the fly and seeing how they look. One of my AI generated concept experiments was this version of teh truck with a shielded cupola, in the end I decided that this was way too big BUT there are certain aspects of the gun and the shielding that I kinda liked so I am wondering whether I can incorporate bits into my smaller version??? The technique here is what engineers call the ‘suck it and see’ approach! LMAO
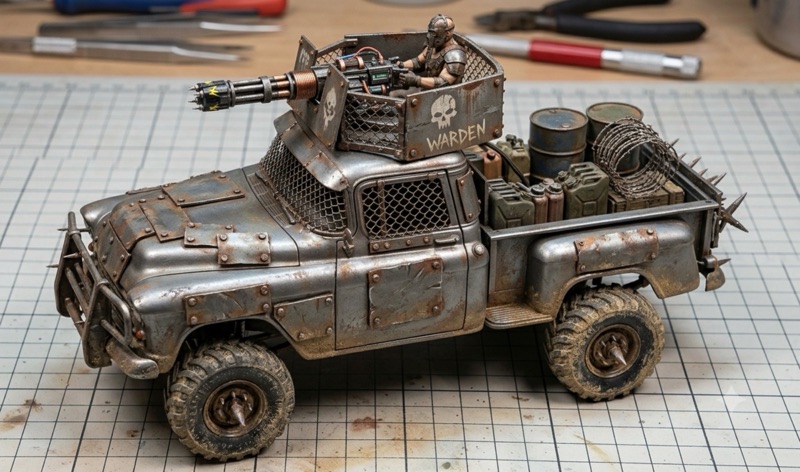
I like the copper coil and I wonder if I can insert that into my version? I like the gun shield and the wire side protection… SO LET’S BUILD!!!
The Build - Chop Chop!
I decided - before I even started the scratch building - to build the gun turret as a completely separate module and not as an attached part of the capture truck. The reason I want to do this is the small overall size of the turret section and how trying to build this onto the truck itself will make things just a little awkward due to the compact space.
Modelling the turret separately will allow me to more easily view and access the parts from all sides. Once built only then will I attached to completed turret model to the roof of the truck. First things first then, I compare both parts with one another to see how they might fit together…
 |
| Above: Having trimmed either part to ensure that they have flat surfaces to join together I stuck them temporarily to one another using a blob of Blutac. I tried this with both models of the pulse gun I had - the pistol version and the rifle - and this one, the rifle, seemed to be the best match for scale. |
.jpg) |
| Above: There was a bit of trial and error involved with fitting the parts together and I ended up adding an additional piece from another gun model to make the whole thing fit better. This made the weapon longer, but also created a gap underneath where I thought I might want to add a shield. |
This stage is something of a mini puzzle, how the part will go together and what I might have to do to create a seamless join between them. I also have it in mind that I was wanting to add a shield to the weapon so I will have to find a way to integrate this into the mix…
 |
| Above: Back to the 'drawing board' to work out what shape of shield I would like and how I might fit it to the other pieces. (Concept generated using Google Gemini.) |
Having tried out a couple of ways to join the parts together I settled on an arrangement that I like and started to glues parts together...

This done, I now had to make a shield. Initially I was going to glues some small rectangles of styrene plastic together but then I thought it would be simple enough to 3D design and print. So, I fired up TINKERCAD and gave it a go (after some very rough measurements)!


Easy-Peasy lemon squeezy! I figured I could add any embellishments - like rivets - later. But doing the shield this way saved me time and made sure all the angles were correct...

I was reasonably happy with this build, so all that was left was to try it out 'for fit' on the capture truck itself. I was a little worried that I had made the weapon a little too long so it was best to check...

.jpeg)
.jpeg)
Not bas, and not overly big. I'll still fiddle around a bit to add some bits and bobs before painting it. Things like power cables and battery boxes and rivets, etc.
But otherwise, this part of the build is done. Next up will be the painting of the weapons station.
Post a Comment